Mastery of the iPod Starts Here
Upgrade Jailbroken iPhone 3GS to 3.1 Firmware
This tutorial will show you how to upgrade your jailbroken iPhone 3GS from OS 3.0.x to OS 3.1 using PwnageTool for Mac.
Step One
You will also need the 3.1 iPhone firmware.
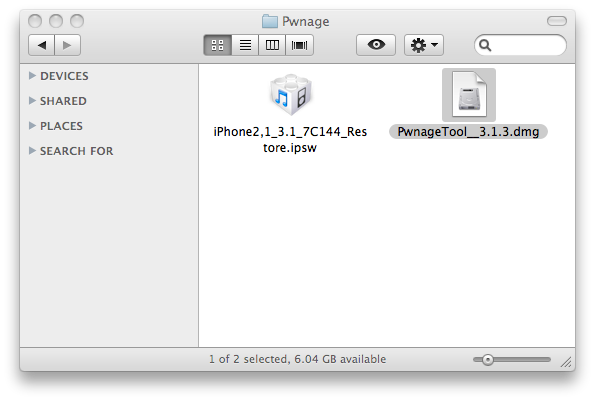
3.1.0 (3GS): iPhone2,1_3.1_7C144_Restore.ipsw
When downloading the IPSW file, it is best to download it with Firefox since Safari often auto extracts it!
 Step Two
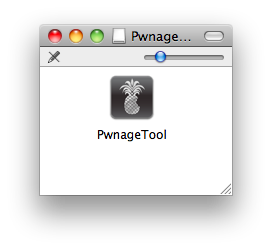
Double click to mount PwnageTool 3.1.3 then drag the PwnageTool icon into the Pwnage folder.
Step Two
Double click to mount PwnageTool 3.1.3 then drag the PwnageTool icon into the Pwnage folder.
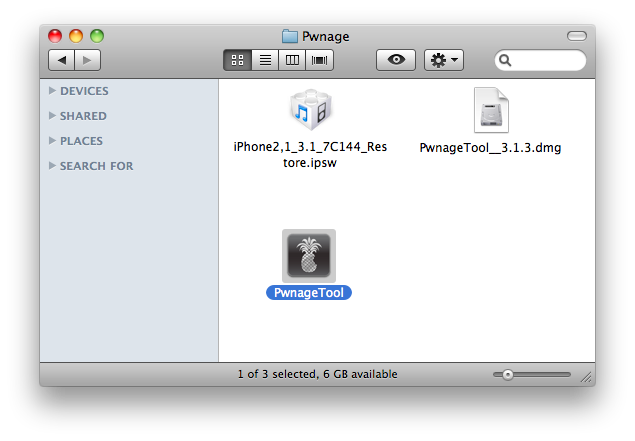
 Then from the Pwnage folder double click to launch the PwnageTool application.
Click Ok if presented with a warning.
 Step Three
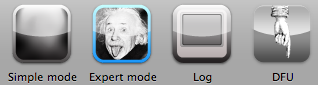
Click to select Expert Mode from the top menu bar
Step Three
Click to select Expert Mode from the top menu bar
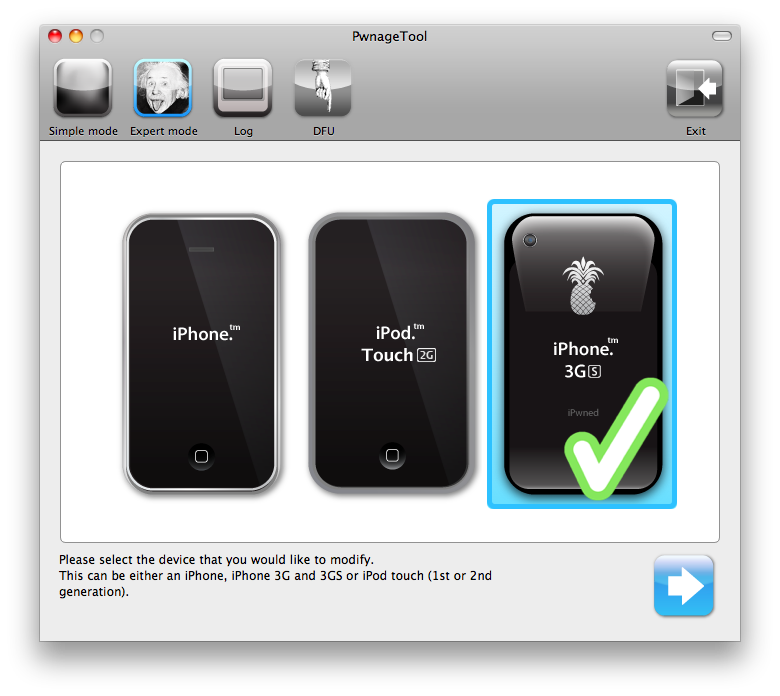
 Step Four
Click to select your iPhone. A check-mark will appear over the image of the phone.
Step Four
Click to select your iPhone. A check-mark will appear over the image of the phone.
 Step Five
Click the blue arrow button to continue. You will be brought to the “Browse for IPSW” page. On my laptop, it automatically found the IPSW. If PwnageTool doesn’t automatically find the ipsw file you can click Browse for IPSW….
Step Five
Click the blue arrow button to continue. You will be brought to the “Browse for IPSW” page. On my laptop, it automatically found the IPSW. If PwnageTool doesn’t automatically find the ipsw file you can click Browse for IPSW….
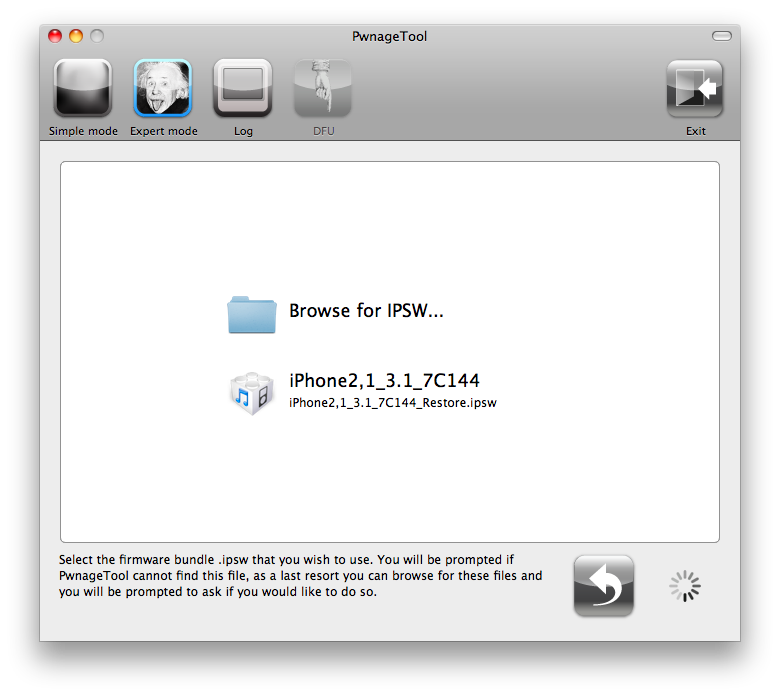 Click to select the found IPSW file, a checkmark will appear next to it. Then click the blue arrow button to continue.
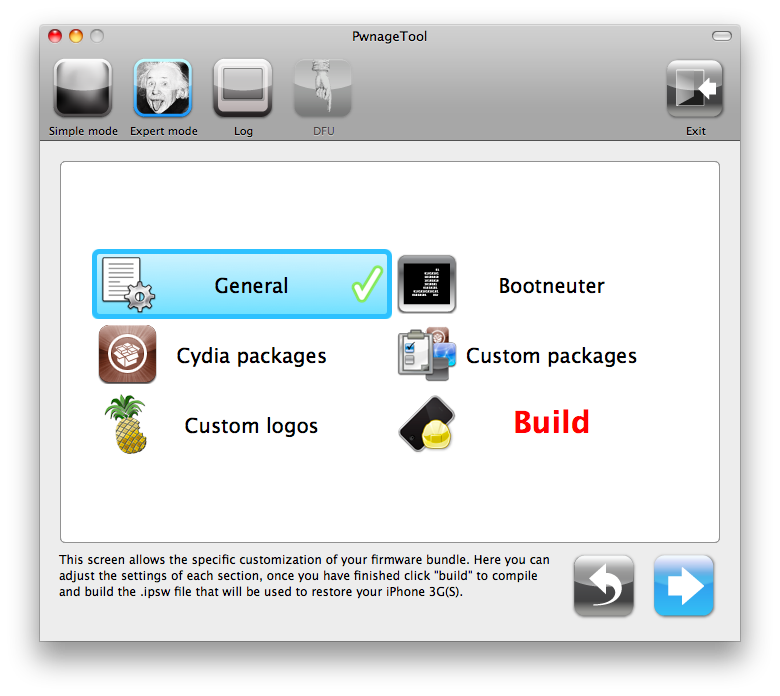
 Step Six
You will then be brought to a menu with 7 choices. Click to select General then click the blue arrow button.
Step Six
You will then be brought to a menu with 7 choices. Click to select General then click the blue arrow button.
 The General settings allows you to decide the partition size. Check Activate the phone if you are not with an official carrier then click the blue arrow button.
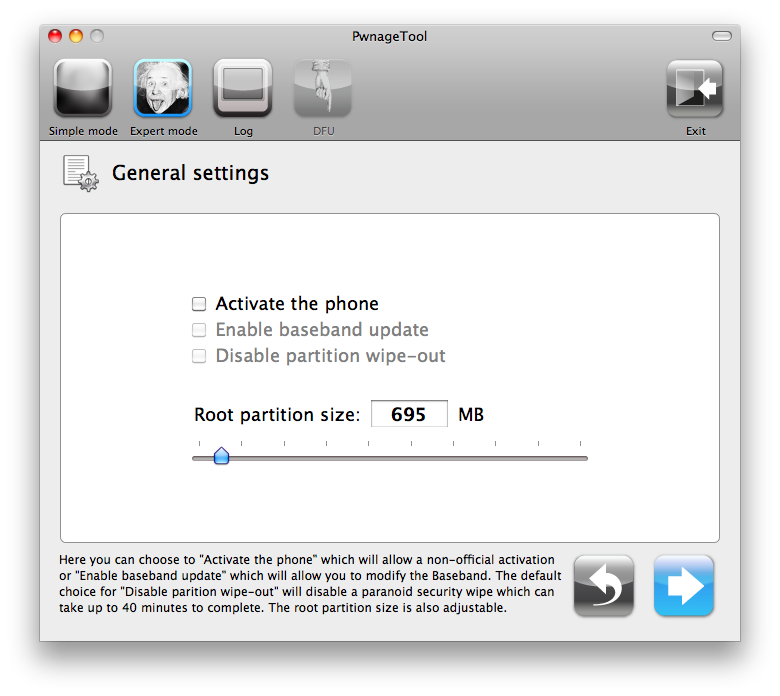 NOTE*: Deselect Activate if you have an iPhone legitimately activated on an official carrier.
NOTE*: You may need to increase the size of the root partition slightly. My first attempt failed at creating the IPSW until I increased the size to about 695 MB.
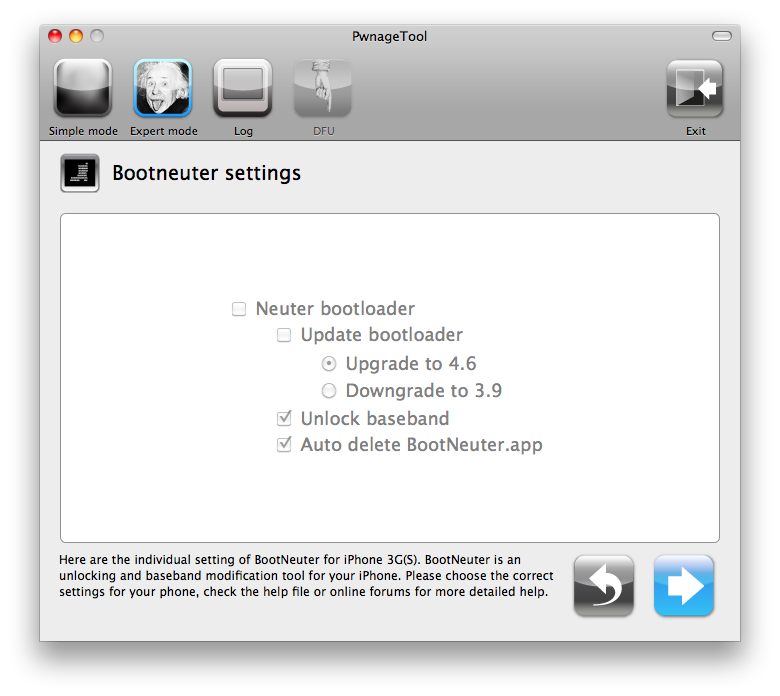
The Bootneuter settings are greyed out for the 3G iPhone. Click the blue arrow button.
NOTE*: Deselect Activate if you have an iPhone legitimately activated on an official carrier.
NOTE*: You may need to increase the size of the root partition slightly. My first attempt failed at creating the IPSW until I increased the size to about 695 MB.
The Bootneuter settings are greyed out for the 3G iPhone. Click the blue arrow button.
 The Cydia settings menu allows you to create custom packages so you do not have to manually install the necessary them later.
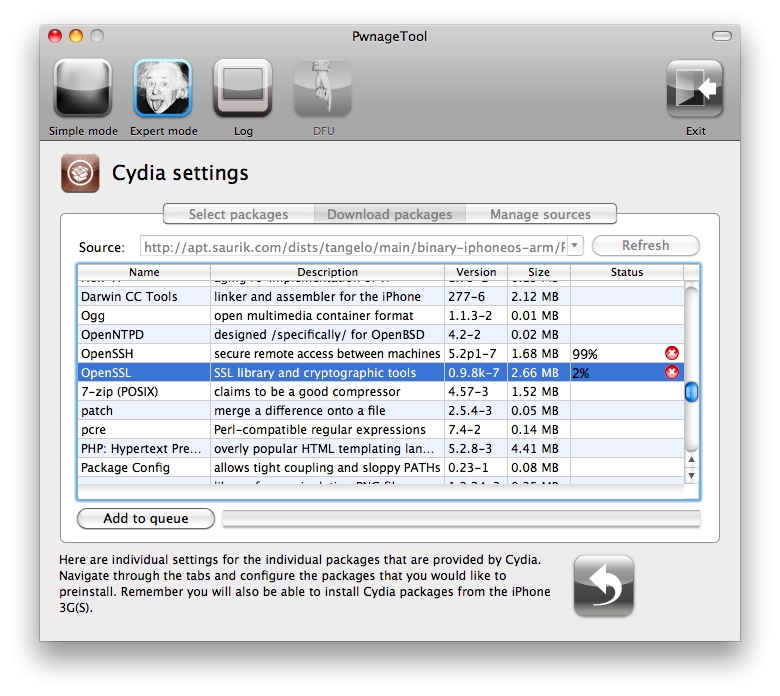
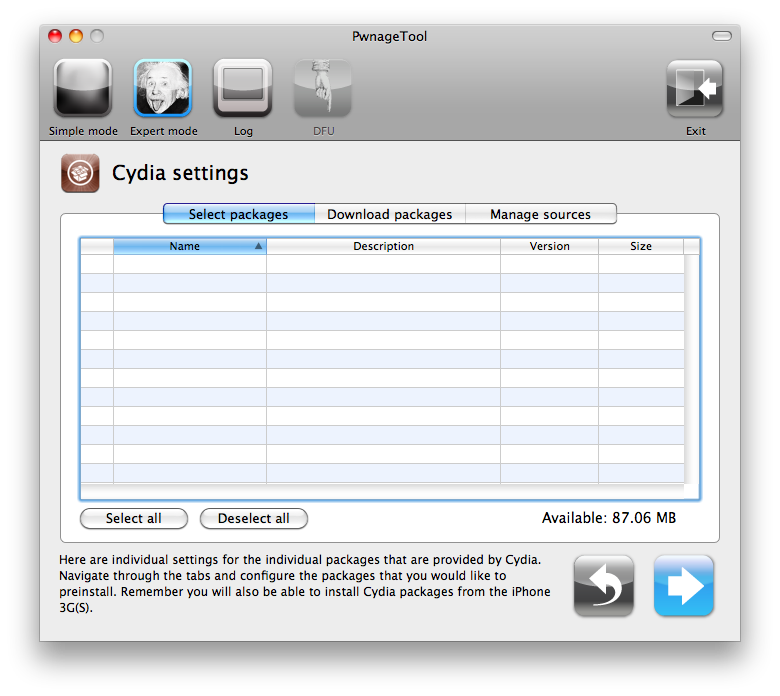 Click to select the Download packages tab. Then click the Refresh button to display all the available packages. Double clicking the package you want will download it and make it available in the Select Packages tab.
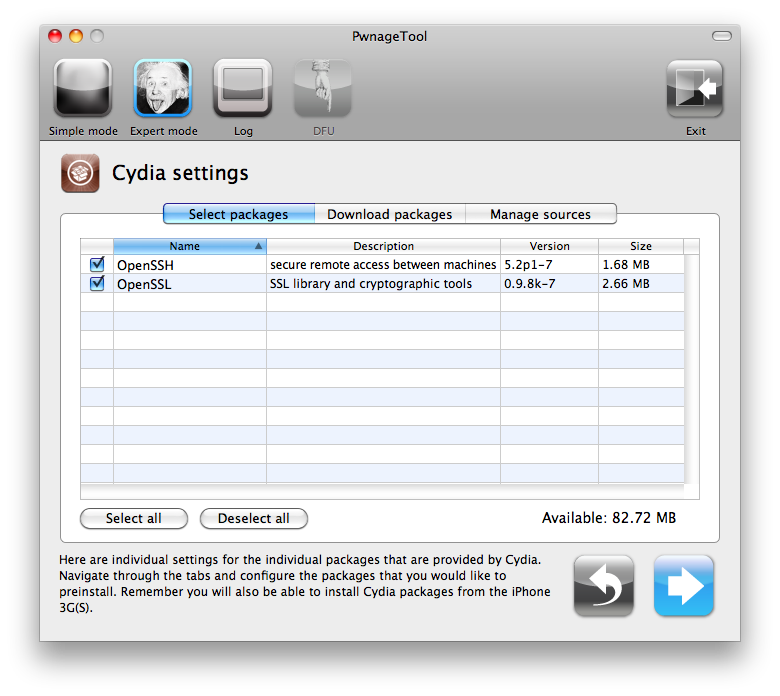
 Checkmark the ones you want then Click the blue arrow button.
 The Custom Packages Settings menu displays listed package settings for your custom IPSW. For know leave these settings as is. Click the blue arrow button to continue.
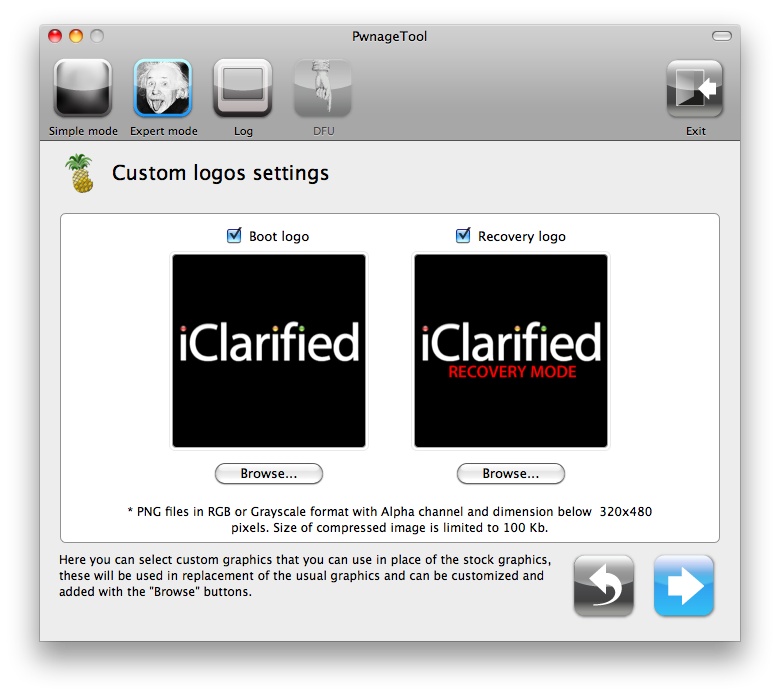
 The Custom Logos Settings menu allows you to add your own images as boot logos. Click the Browse button to select your Boot logo and Recovery logo. If you would like to use the iClarified ones they can be found here:Boot Logo, Recovery Logo
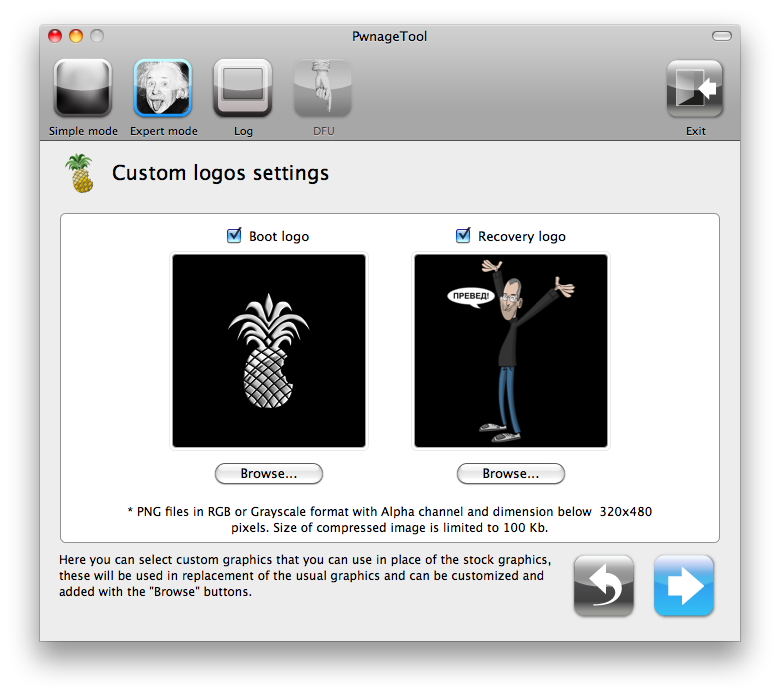 Remember the rules for them: RGB or Grayscale format with Alpha channel and dimensions below 320×480…
 Click the blue arrow button to continue.
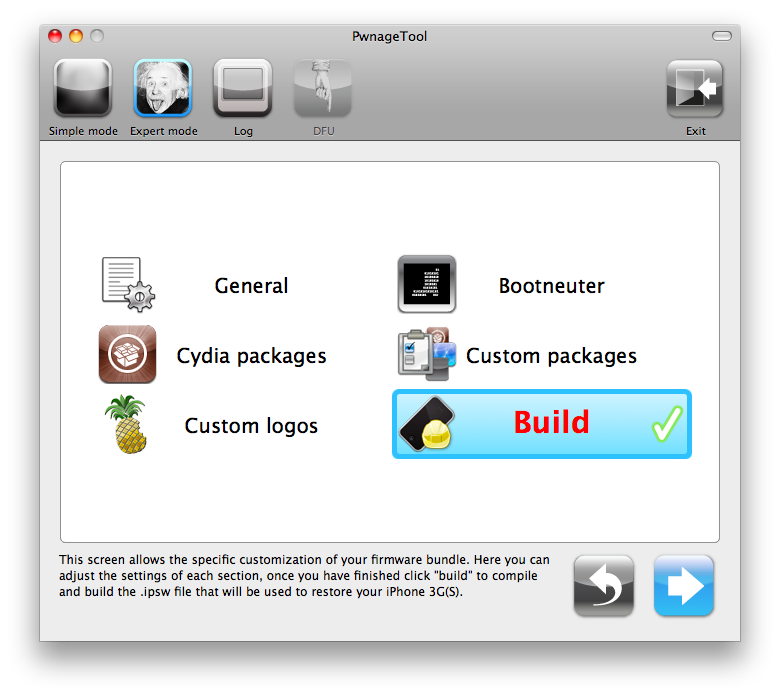
Step Seven
You are now ready to begin the pwnage process! Click the Build button to select it then click the Blue arrow button to begin.
Click the blue arrow button to continue.
Step Seven
You are now ready to begin the pwnage process! Click the Build button to select it then click the Blue arrow button to begin.
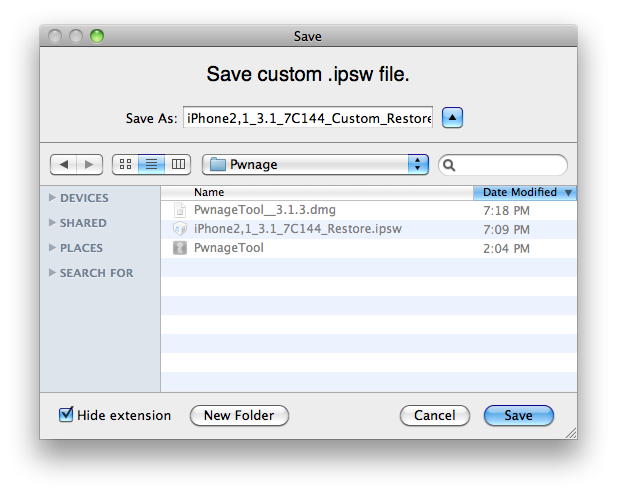
 Step Eight
You will be asked to save your custom .ipsw file. Save it to your Pwnage folder you created on your Desktop.
Step Eight
You will be asked to save your custom .ipsw file. Save it to your Pwnage folder you created on your Desktop.
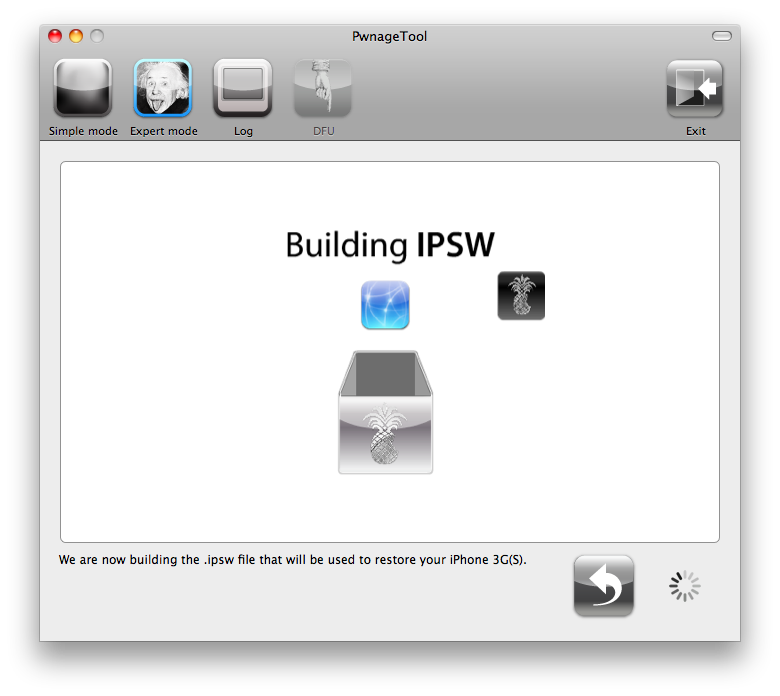
 Your IPSW is now being built. Please allow up to 10 minutes.
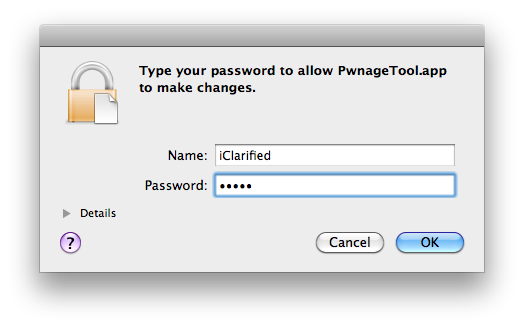
 You will be asked to enter your administrator password. Do this then click the OK button.
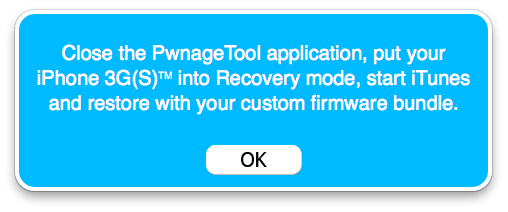
 You will be prompted to close the PwnageTool application then put your iPhone into recovery mode. Click theOK button.
 Step Nine
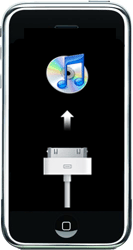
Make sure your iPhone is connected to the computer then follow these instructions to put your iPhone into recovery mode.
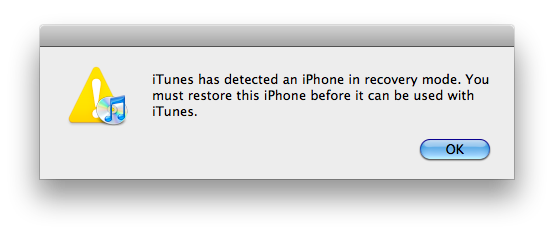
When done correctly your iPhone will display an image of the iTunes logo and a usb cable. iTunes will also pop-up saying it has detected an iPhone in recovery mode.
Step Nine
Make sure your iPhone is connected to the computer then follow these instructions to put your iPhone into recovery mode.
When done correctly your iPhone will display an image of the iTunes logo and a usb cable. iTunes will also pop-up saying it has detected an iPhone in recovery mode.
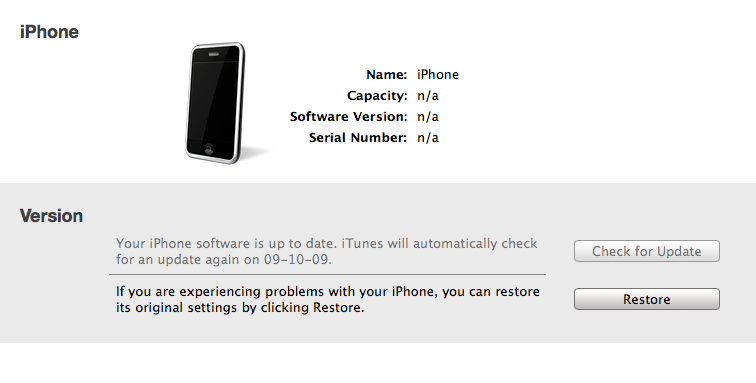
 Step Ten
In iTunes, hold the Alt/Option key and click Restore.
Step Ten
In iTunes, hold the Alt/Option key and click Restore.
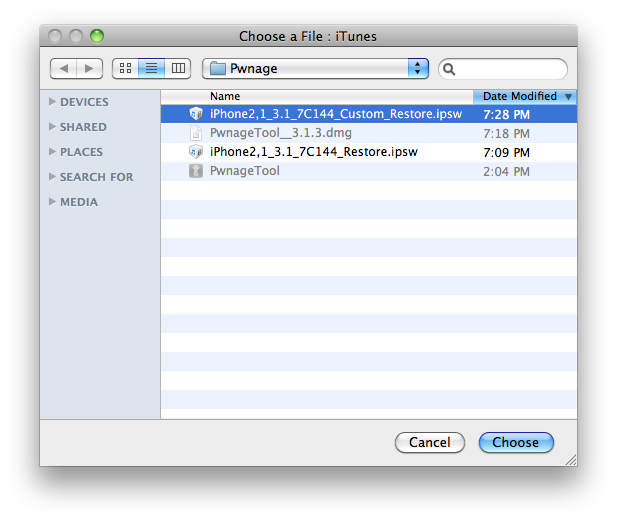
 Step Eleven
Navigate to the Pwnage folder on your desktop using the dialog window that appears. Select the custom IPSW that was created (iPhone2,1_3.1_7C144_Custom_Restore.ipsw) and click the Open button.
Step Eleven
Navigate to the Pwnage folder on your desktop using the dialog window that appears. Select the custom IPSW that was created (iPhone2,1_3.1_7C144_Custom_Restore.ipsw) and click the Open button.
 Step Twelve
iTunes will now restore the firmware on your iPhone. This can also take up to 10 minutes. Once done you will be rebooted into jailbroken iPhone OS 3.1!
***THANKS: Thank you to the Dev-Team for their hard work in making this jailbreak and tutorial possible!
Step Twelve
iTunes will now restore the firmware on your iPhone. This can also take up to 10 minutes. Once done you will be rebooted into jailbroken iPhone OS 3.1!
***THANKS: Thank you to the Dev-Team for their hard work in making this jailbreak and tutorial possible!


January 7, 2010 - 10:28 pm
What about an iPhone 3G with officially unlocked 2.1 FW and jailbroken with QuickPwn21-1. Can I have a tutorial like this about upgrading from 2.1 to 3.1.2 (3G).
info
Version – 3G
Firmware – 2.1(5F136) (received Unlocked)
Modem Firmware – 02.11.07
Jialbroken with- QuickPwn21-1
Note:- 1.Never Upgraded.
2.No internet plan in iPhone.
3.No router in pc.
4.Vista Ultimate with internet.
January 17, 2010 - 6:34 pm
“You will be asked to enter your administrator password. Do this then click the OK button”
What is the password?
January 31, 2010 - 2:04 pm
Nice one – very handy. Some of our customers have been looking for this. I’ll refer them onto your site.
Anthony.