Mastery of the iPod Starts Here
Archive for October, 2010
Critical iPhone Security Bug Lets You Bypass Passcode Lock [Video]
Oct 26th

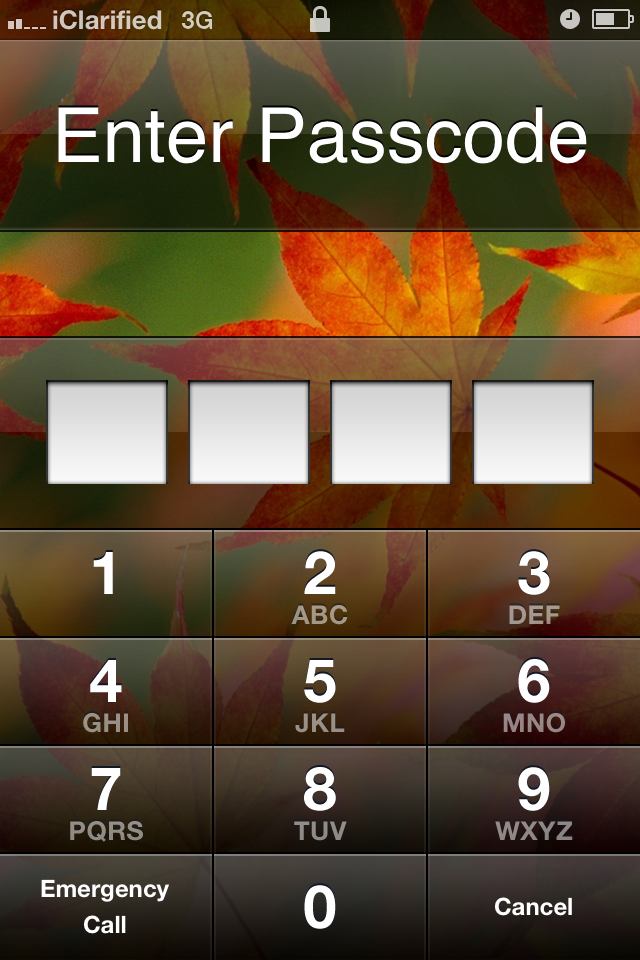
A new security bug has been found in iOS 4.1 that lets you bypass an iPhone’s passcode lock to make calls and access contact information.
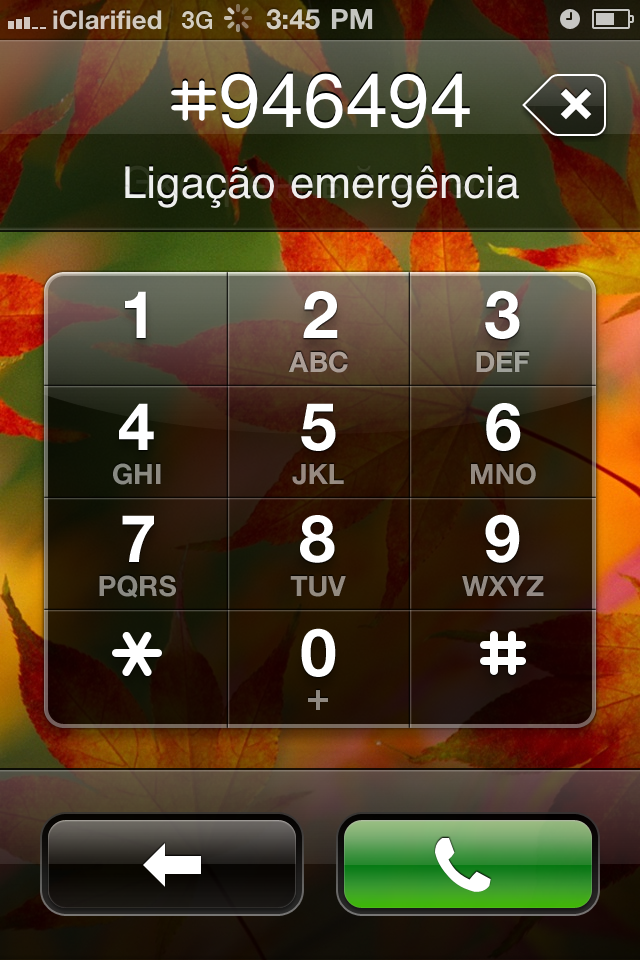
Instructions to Reproduce:
? Lock your iPhone using a passcode
? Press Emergency Call
? Dial a non existant number #946494
? Immediately press the Power button as it begins making the call
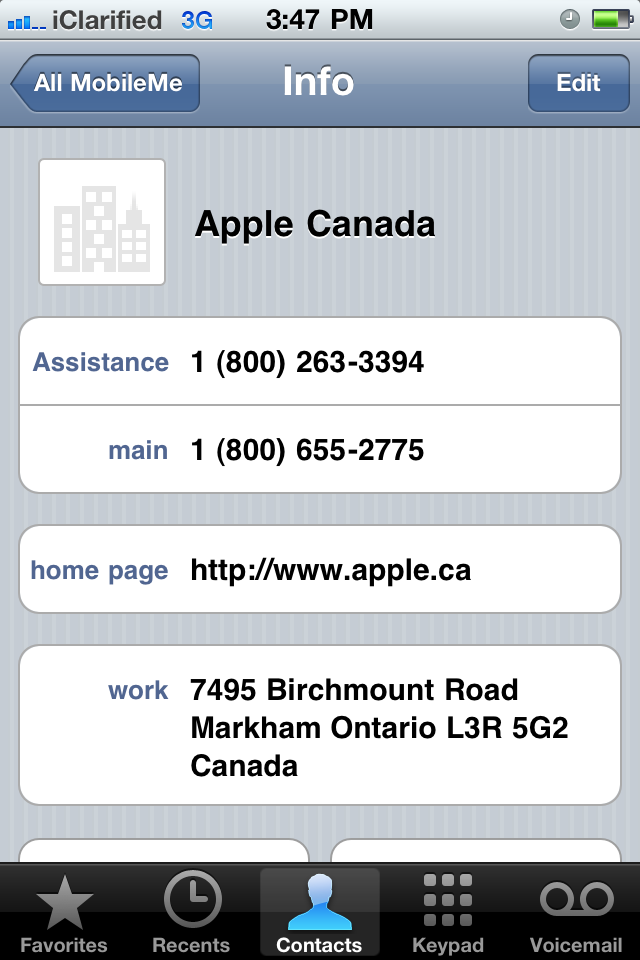
After performing these steps the contacts application will open giving you access to the entire address book, recent call history, and voicemail of the person’s iPhone.
You can also make calls and send emails.
Apple has reportedly been notified of the security bug already.
Where To Download iPhone Firmware Files From
Oct 22nd


Below you can find the direct links to the iPhone Firmware Files for every released firmware version. Please note that if you use Safari you must disable the auto unzip feature. It may be easier to just use Firefox!
1.0.0:
iPhone1,1_1.0_1A543a_Restore.ipsw2.2.1 (3G): iPhone1,2_2.2.1_5H11_Restore.ipsw
3.0.1 (2G): iPhone1,1_3.0.1_7A400_Restore.ipsw
3.1.2 (3GS): iPhone2,1_3.1.2_7D11_Restore.ipsw
NOTE*: I will update this as new firmware versions come out of course ![]()
iPhone Dev-Team Releases PwnageTool 4.1 Jailbreak Utility
Oct 20th


The iPhone Dev-Team has released PwnageTool 4.1 which adds supports for the Apple TV 2G and jailbreaks iOS 4.1
? How to Jailbreak Your iPhone 4 Using PwnageTool (Mac) [4.1]
? How to Jailbreak Your iPhone 3GS Using PwnageTool (Mac) [4.1]
—–
Through a combination of the recently released geohot limera1n exploit comex’s recently released pf exploit, and our original pwnage2 exploit, PwnageTool 4.1 works on these devices at firmware 4.1:
* AppleTV 2G
* iPad (firmware 3.2.2)
* iPod touch 4G
* iPod touch 3G
* iPhone4
* iPhone 3GS
* iPhone 3G
PwnageTool allows you to restore to a custom IPSW file. For instance, you can restore to a pre-jailbroken firmware while simultaneously maintaining your current baseband (and thus your ultrasn0w carrier unlock). You can also add whatever packages you want in the “Expert” mode of PwnageTool, if you wish to pre-install Cydia packages. iPhone 3G users get the additional benefit of selecting their own boot and recovery logos, and features like multitasking and battery charge percentage.
PwnageTool’s main advantage to ramdisk-based methods (limera1n, greenpois0n, redsn0w) is for unlockers — those that need to keep their current baseband and preserve their ultrasn0w unlock. But in this new age of both bootrom- and userland-based exploits, its an excellent platform for continuing the jailbreak through all future firmwares. More on this later! In the meantime, please enjoy this free software and please provide any usage feedback in our comment section below.
AppleTV 2G users: Welcome to the JB family! Right now, about all you can do is command-line stuff via ssh. You also have afc2 available, so you can use tools like ifunbox to move files around. These are the *very* early days of AppleTV 2G jailbreaking, so it’ll take some time for JB app developers to come up with methods to use your AppleTV 2G from the remote, versus the command line. PS: Your ssh password is “alpine”…please change it when you can ![]()
DFU button: That “DFU” button in PwnageTool is more than it looks like. It guides you through the DFU process, but then also runs the appropriate exploit to convince your device and iTunes that all is legit. The DFU button in PwnageTool is not just your average DFU.
—–
You can download PwnageTool 4.1 from
here or here. We will be posting our tutorials on how to use the software very shortly. Tutorials:? How to Jailbreak Your iPhone 4 Using PwnageTool (Mac) [4.1]
? How to Jailbreak Your iPhone 3GS Using PwnageTool (Mac) [4.1]
How to Jailbreak Your iPhone 3G Using PwnageTool (Mac) [4.1]
Oct 20th

 These are instructions on how to jailbreak your iPhone 3G on iOS 4.1 using PwnageTool for Mac.
Step One
These are instructions on how to jailbreak your iPhone 3G on iOS 4.1 using PwnageTool for Mac.
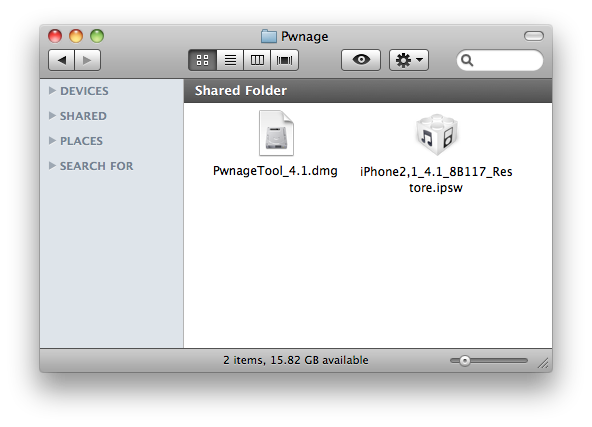
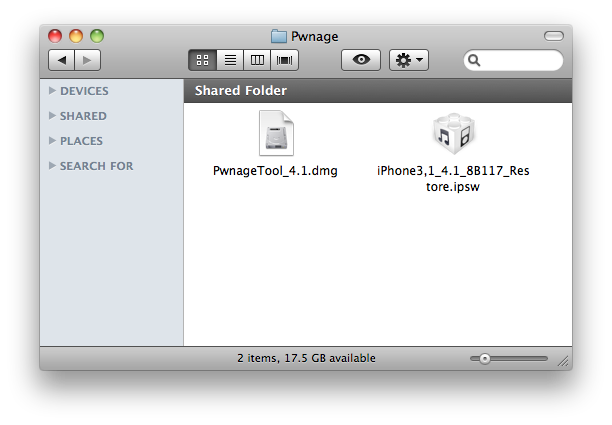
Step OneMake a folder called “Pwnage” on the desktop. In it, you will need a couple of things. PwnageTool 4.1, found here
You will also need the 4.1 iPhone firmware.
4.1.0 (3G): iPhone1,2_4.1_8B117_Restore.ipswWhen downloading the IPSW file, it is best to download it with Firefox since Safari often auto extracts it!
 Step Two
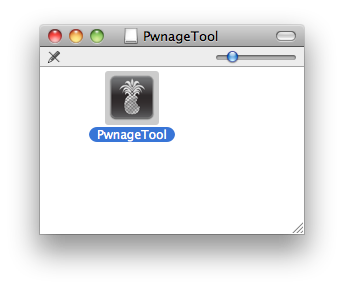
Double click to mount PwnageTool then drag the PwnageTool icon into the Pwnage folder.

Then from the Pwnage folder double click to launch the
PwnageTool application.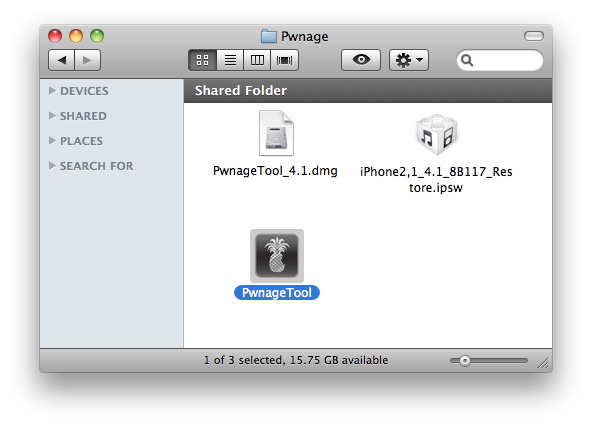
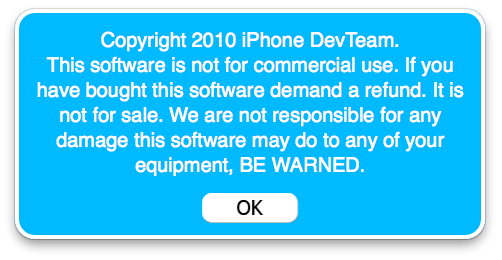
Click Ok if presented with a warning.
 Step Three
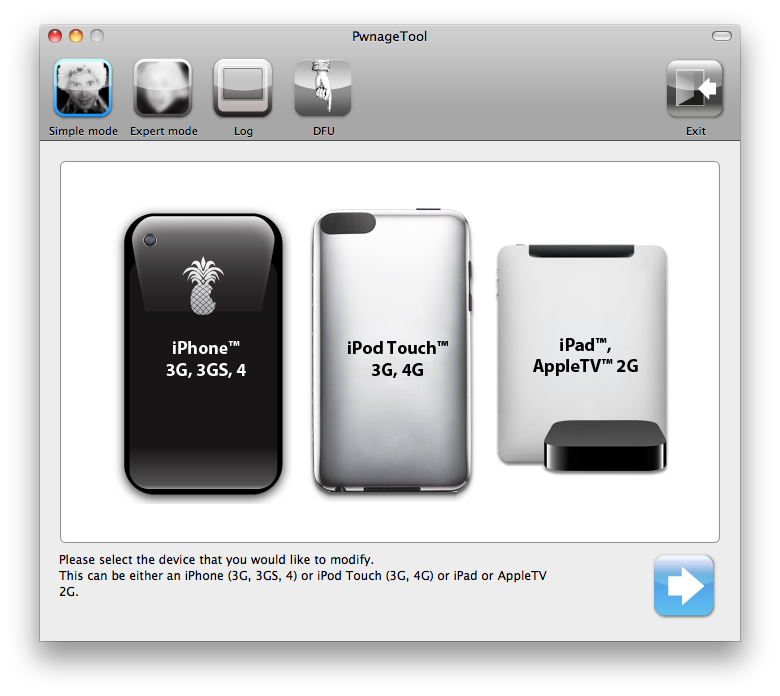
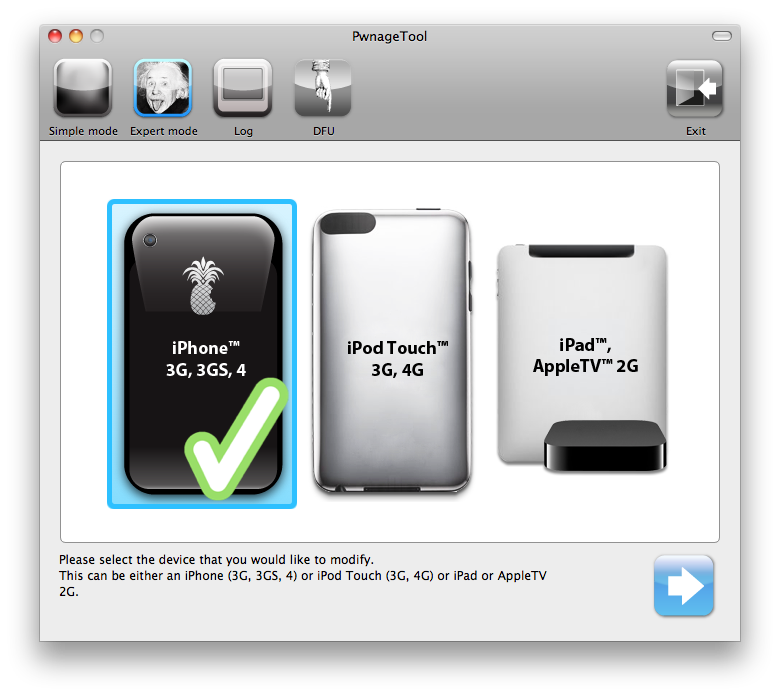
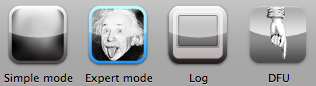
Click to select Expert Mode from the top menu bar
 Step Four
Click to select your device. A check-mark will appear over the image of the device. Click the blue arrow button to continue.
 Step Five
You will be brought to the “Browse for IPSW” page. Click the Browse for IPSW… button.
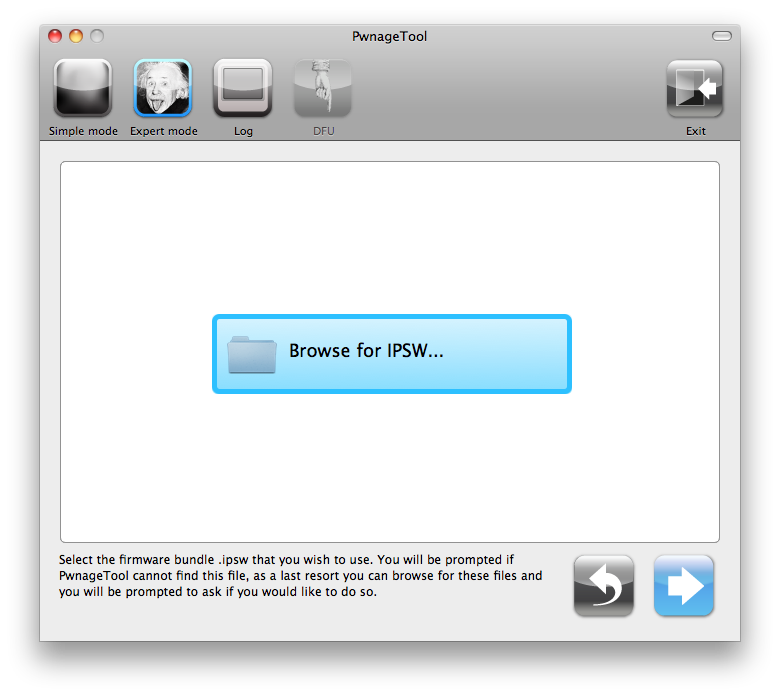
From the popup window select your firmware from the Pwnage folder then click the
Openbutton.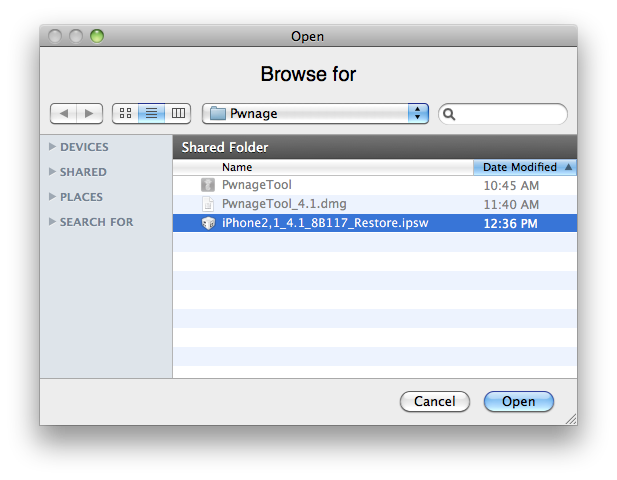 Step Six
You will then be brought to a menu with several choices. Click to select General then click the blue arrow button.
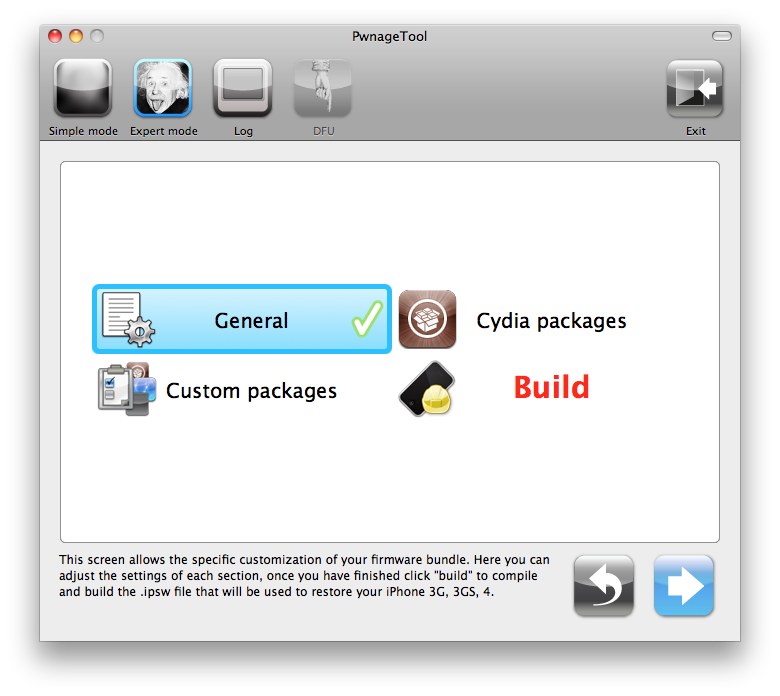
The
General settings allows you to decide the partition size. Check Activate the phone if you are not with an official carrier then click the blue arrow button.NOTE*: Deselect
Activate if you have an iPhone legitimately activated on an official carrier.
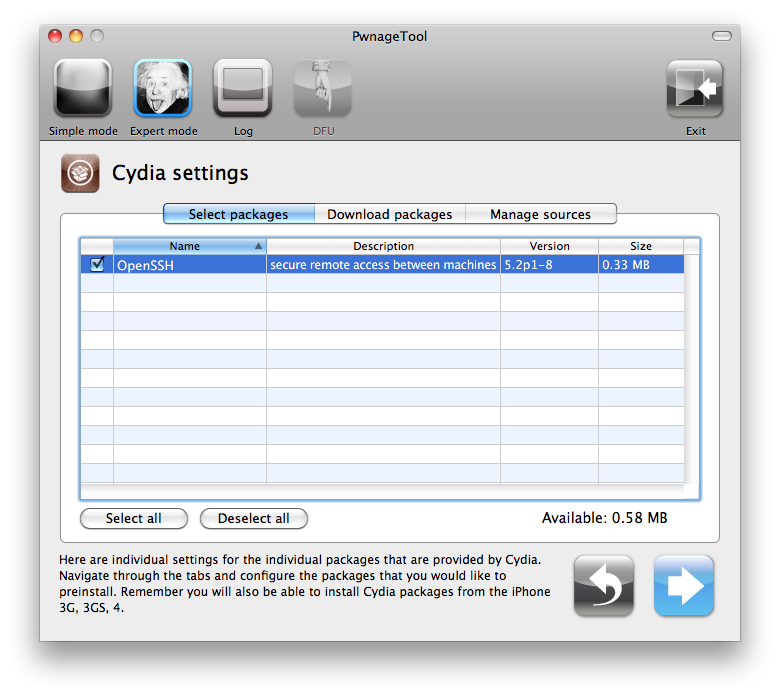
The
Cydia settings menu allows you to create custom packages so you do not have to manually install the necessary them later.
Click to select the
Download packages tab. Then click the Refresh button to display all the available packages. Double clicking the package you want will download it and make it available in the Select Packages tab.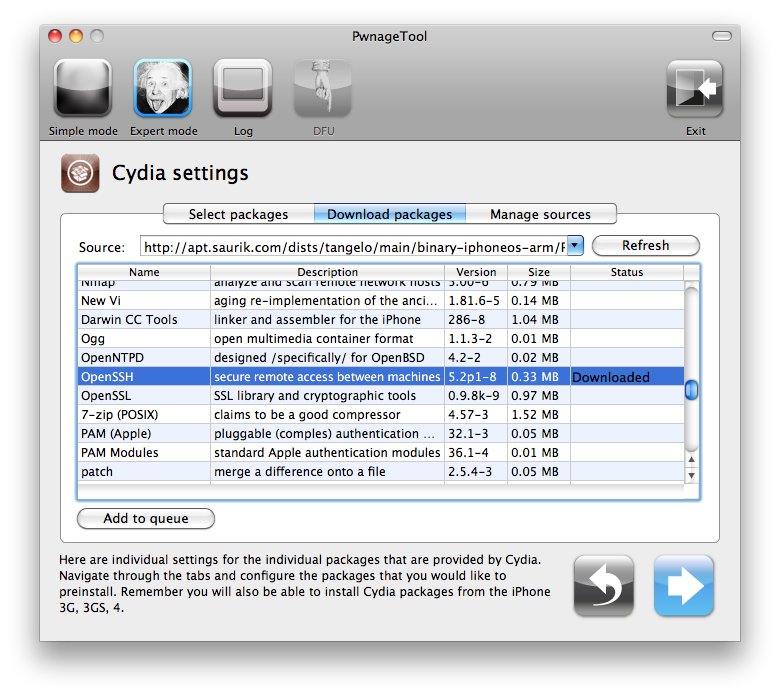
Checkmark the ones you want then click the blue arrow button.
The
Custom Packages Settings menu displays listed package settings for your custom IPSW. For know leave these settings as is. Click the blue arrow button to continue.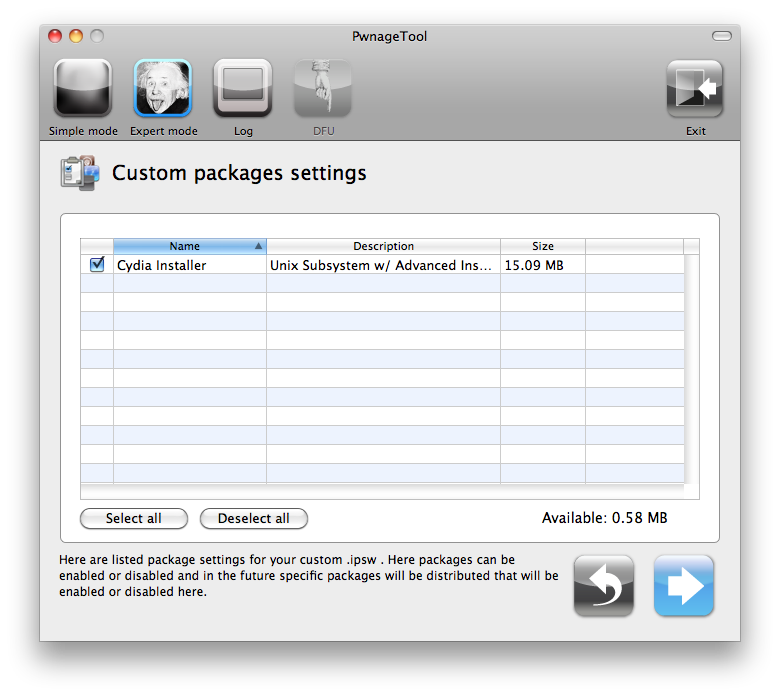 Step Seven
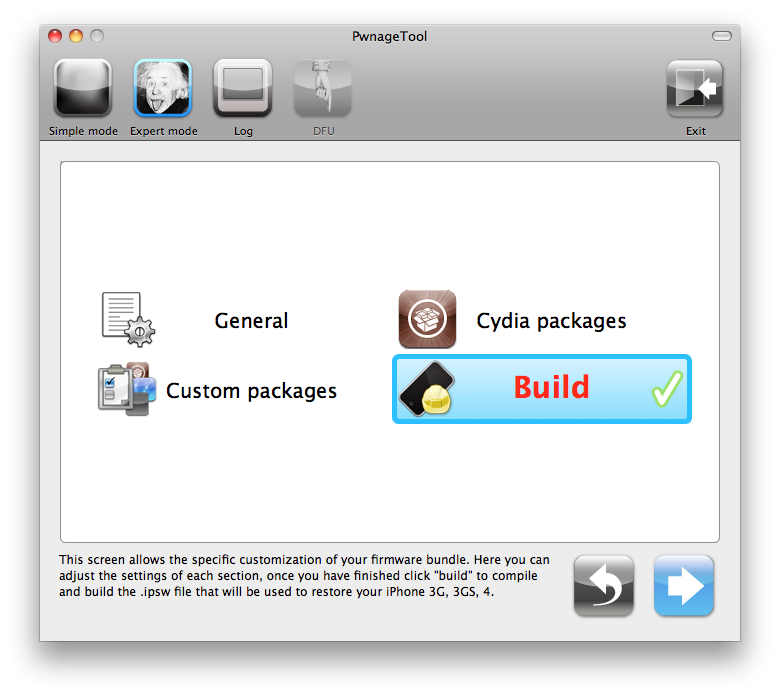
You are now ready to begin the pwnage process! Click the Build button to select it then click the Blue arrow button to begin.
 Step Eight
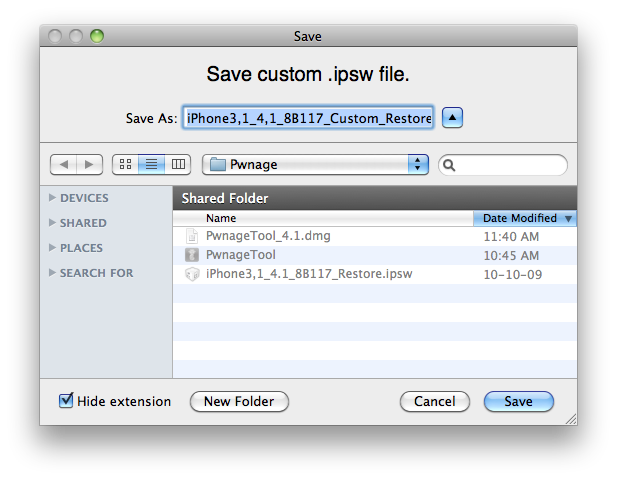
You will be asked to save your custom .ipsw file. Save it to your Pwnage folder you created on your Desktop.

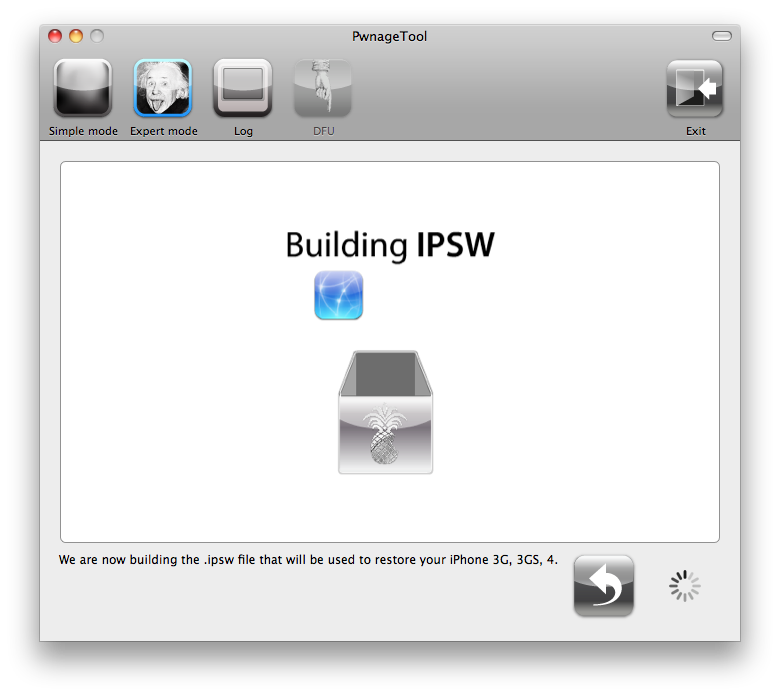
Your IPSW is now being built. Please allow up to 10 minutes.

You will be asked to enter your administrator password. Do this then click the
OK button. Step Nine
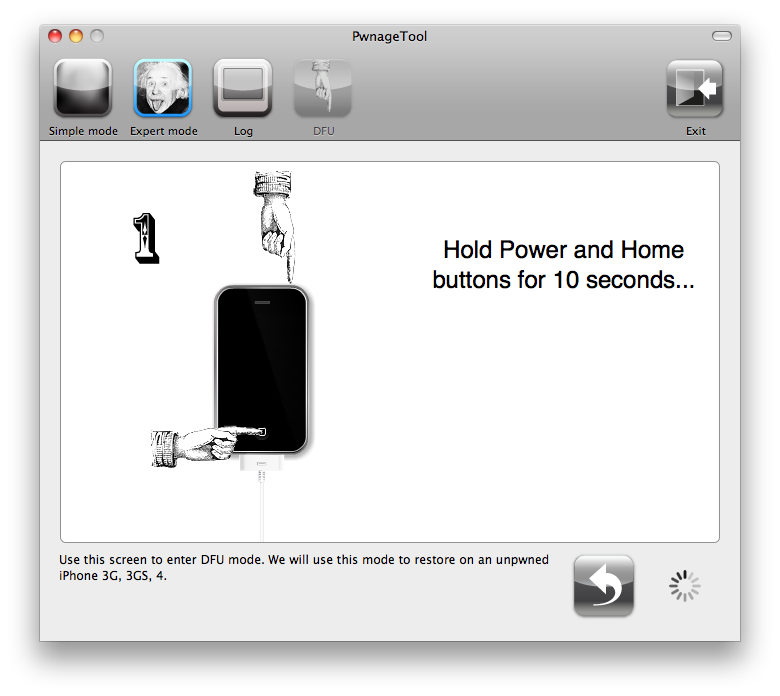
Once your ipsw has been built you will be asked to connect your iPhone to the computer. Once it detects your device PwnageTool will guide your through the steps to putting your iPhone into DFU mode.
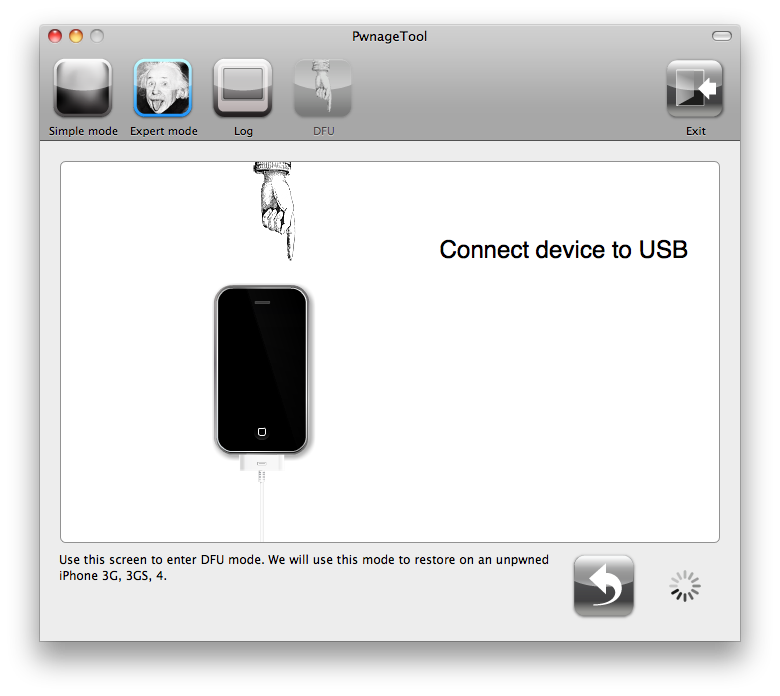
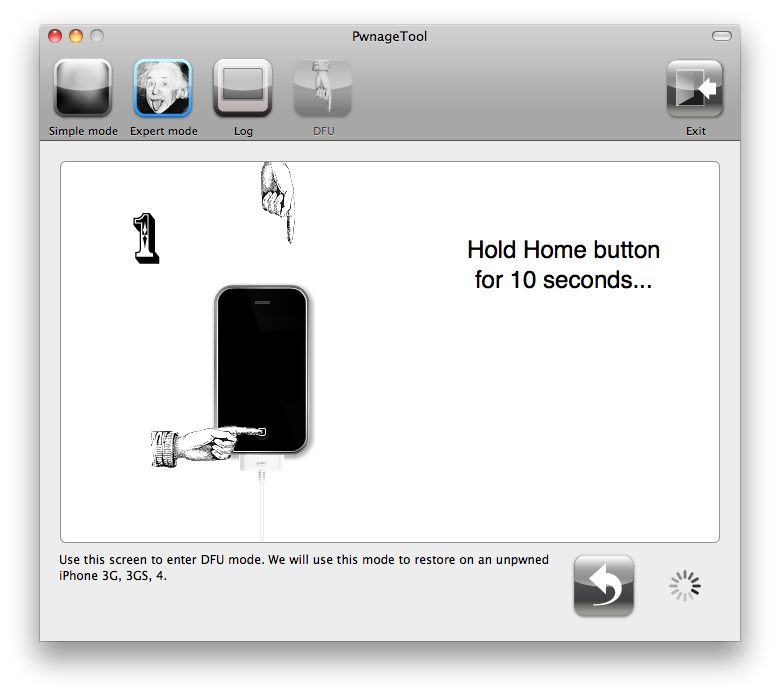
Press and hold the power and home buttons for 10 seconds.

Then release the power button and continue holding the home button for 10 seconds.
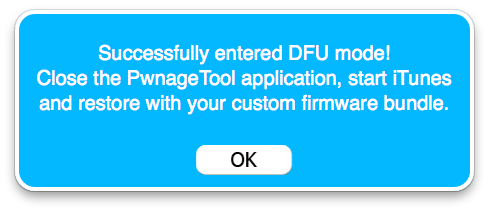
Once your iPhone is successfully in DFU mode, PwnageTool will prompt you to launch iTunes.
 Step Ten
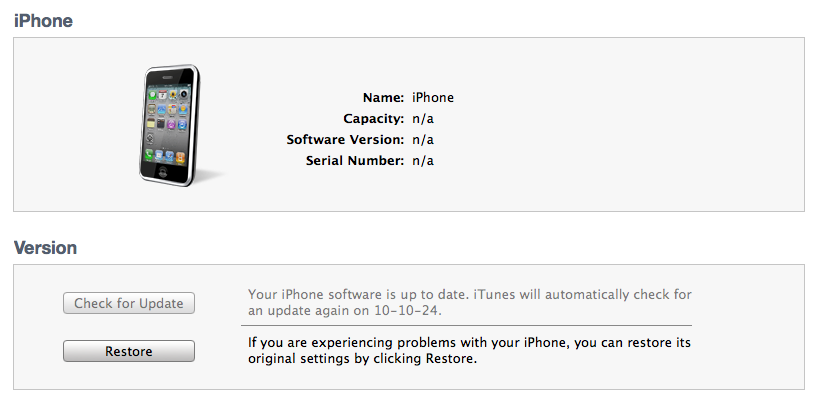
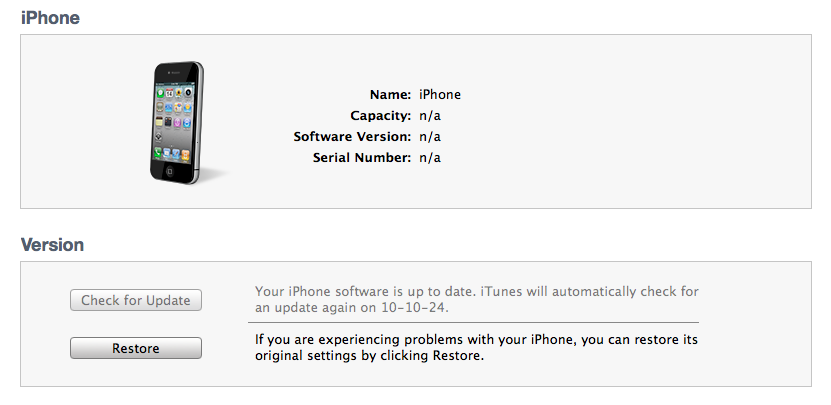
Once In iTunes, hold the Alt/Option key and click Restore.
 Step Eleven
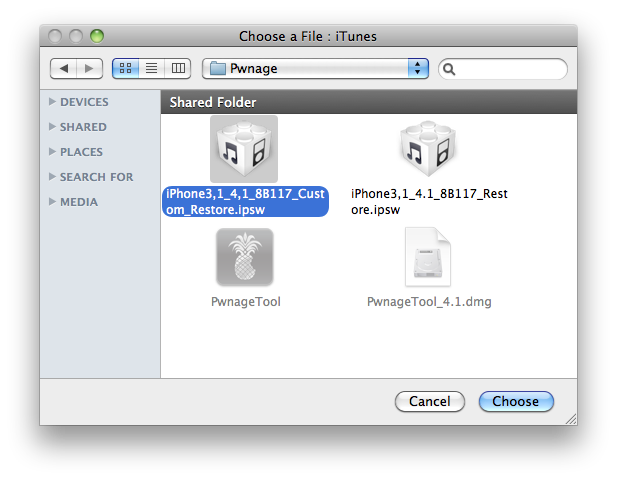
Navigate to the Pwnage folder on your desktop using the dialog window that appears. Select the custom IPSW that was created and click the Choose button.
 Step Twelve
iTunes will now restore the firmware on your iPhone. This can also take up to 10 minutes. Once done you will be rebooted into jailbroken iOS 4.1!
***THANKS: Thank you to Geohot and the Dev-Teams for their hard work in making this jailbreak and tutorial possible!
How to Jailbreak Your iPhone 3GS Using PwnageTool (Mac) [4.1]
Oct 20th

 These are instructions on how to jailbreak your iPhone 3GS on iOS 4.1 using PwnageTool for Mac.
Step One
These are instructions on how to jailbreak your iPhone 3GS on iOS 4.1 using PwnageTool for Mac.
Step OneMake a folder called “Pwnage” on the desktop. In it, you will need a couple of things. PwnageTool 4.1, found here
You will also need the 4.1 iPhone firmware.
4.1.0 (3GS):
When downloading the IPSW file, it is best to download it with Firefox since Safari often auto extracts it!
Step TwoDouble click to mount PwnageTool then drag the PwnageTool icon into the Pwnage folder.
Then from the Pwnage folder double click to launch the
PwnageTool application.
Click Ok if presented with a warning.
Step ThreeClick to select Expert Mode from the top menu bar
 Step Four
Click to select your device. A check-mark will appear over the image of the device. Click the blue arrow button to continue.
Step FiveYou will be brought to the “Browse for IPSW” page. Click the Browse for IPSW… button.
From the popup window select your firmware from the Pwnage folder then click the
Open button.
Step SixYou will then be brought to a menu with several choices. Click to select General then click the blue arrow button.
The
General settings allows you to decide the partition size. Check Activate the phone if you are not with an official carrier then click the blue arrow button.NOTE*: Deselect
Activate if you have an iPhone legitimately activated on an official carrier.
The
Cydia settings menu allows you to create custom packages so you do not have to manually install the necessary them later.
Click to select the
Download packages tab. Then click the Refresh button to display all the available packages. Double clicking the package you want will download it and make it available in the Select Packages tab.
Checkmark the ones you want then click the blue arrow button.
The
Custom Packages Settings menu displays listed package settings for your custom IPSW. For know leave these settings as is. Click the blue arrow button to continue.
Step SevenYou are now ready to begin the pwnage process! Click the Build button to select it then click the Blue arrow button to begin.
Step EightYou will be asked to save your custom .ipsw file. Save it to your Pwnage folder you created on your Desktop.
Your IPSW is now being built. Please allow up to 10 minutes.
You will be asked to enter your administrator password. Do this then click the
OK button.
Step NineOnce your ipsw has been built you will be asked to connect your iPhone to the computer. Once it detects your device PwnageTool will guide your through the steps to putting your iPhone into DFU mode.
Press and hold the power and home buttons for 10 seconds.
Then release the power button and continue holding the home button for 10 seconds.
Once your iPhone is successfully in DFU mode, PwnageTool will prompt you to launch iTunes.
 Step Ten
Once In iTunes, hold the Alt/Option key and click Restore.
Step ElevenNavigate to the Pwnage folder on your desktop using the dialog window that appears. Select the custom IPSW that was created and click the Choose button.
Step TwelveiTunes will now restore the firmware on your iPhone. This can also take up to 10 minutes. Once done you will be rebooted into jailbroken iOS 4.1!
***THANKS: Thank you to Geohot and the Dev-Teams for their hard work in making this jailbreak and tutorial possible!
How to Jailbreak Your iPhone 4 Using PwnageTool (Mac) [4.1]
Oct 20th

 These are instructions on how to jailbreak your iPhone 4 on iOS 4.1 using PwnageTool for Mac.
Step One
These are instructions on how to jailbreak your iPhone 4 on iOS 4.1 using PwnageTool for Mac.
Step OneMake a folder called “Pwnage” on the desktop. In it, you will need a couple of things. PwnageTool 4.1, found here
You will also need the 4.1 iPhone firmware.
4.1.0 (4):
When downloading the IPSW file, it is best to download it with Firefox since Safari often auto extracts it!
 Step Two
Double click to mount PwnageTool then drag the PwnageTool icon into the Pwnage folder.

Then from the Pwnage folder double click to launch the
PwnageTool application.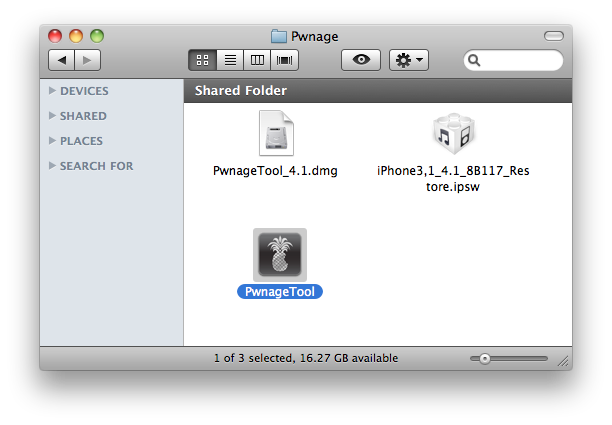
Click Ok if presented with a warning.
 Step Three
Click to select Expert Mode from the top menu bar
 Step Four
Click to select your device. A check-mark will appear over the image of the device. Click the blue arrow button to continue.
 Step Five
You will be brought to the “Browse for IPSW” page. Click the Browse for IPSW… button.

From the popup window select your firmware from the Pwnage folder then click the
Open button.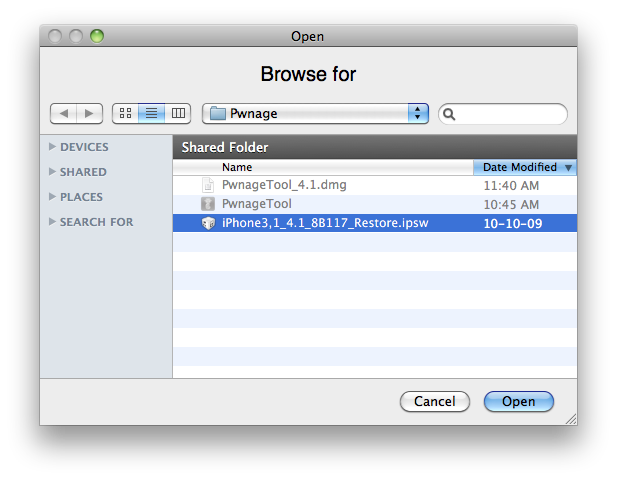 Step Six
You will then be brought to a menu with several choices. Click to select General then click the blue arrow button.

The
General settings allows you to decide the partition size. Check Activate the phone if you are not with an official carrier then click the blue arrow button.NOTE*: Deselect
Activate if you have an iPhone legitimately activated on an official carrier.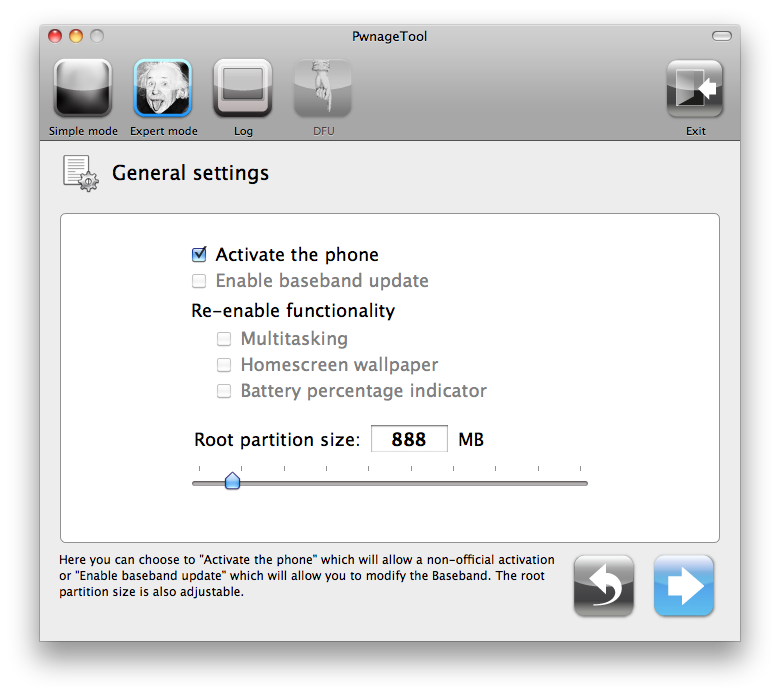
The
Cydia settings menu allows you to create custom packages so you do not have to manually install the necessary them later.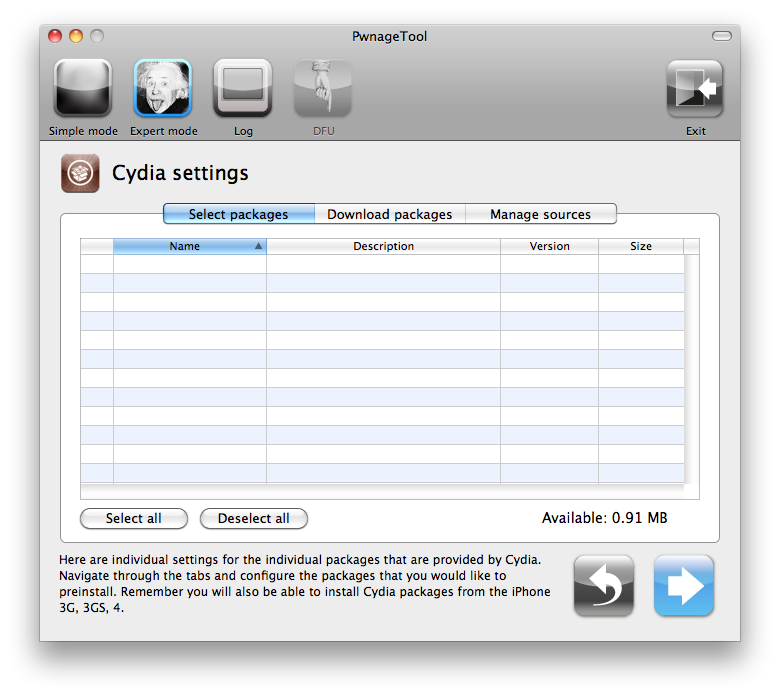
Click to select the
Download packages tab. Then click the Refresh button to display all the available packages. Double clicking the package you want will download it and make it available in the Select Packages tab.
Checkmark the ones you want then click the blue arrow button.

The
Custom Packages Settings menu displays listed package settings for your custom IPSW. For know leave these settings as is. Click the blue arrow button to continue. Step Seven
You are now ready to begin the pwnage process! Click the Build button to select it then click the Blue arrow button to begin.
 Step Eight
You will be asked to save your custom .ipsw file. Save it to your Pwnage folder you created on your Desktop.
Your IPSW is now being built. Please allow up to 10 minutes.
You will be asked to enter your administrator password. Do this then click the
OK button.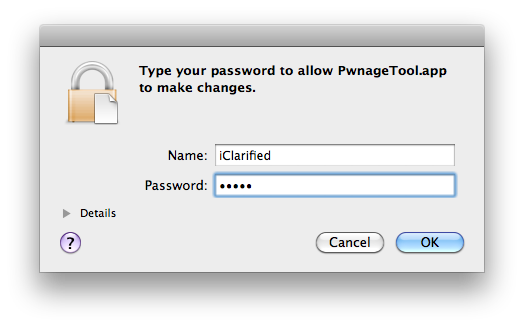 Step Nine
Once your ipsw has been built you will be asked to connect your iPhone to the computer. Once it detects your device PwnageTool will guide your through the steps to putting your iPhone into DFU mode.

Press and hold the power and home buttons for 10 seconds.
Then release the power button and continue holding the home button for 10 seconds.

Once your iPhone is successfully in DFU mode, PwnageTool will prompt you to launch iTunes.
 Step Ten
Once In iTunes, hold the Alt/Option key and click Restore.
 Step Eleven
Navigate to the Pwnage folder on your desktop using the dialog window that appears. Select the custom IPSW that was created and click the Choose button.
 Step Twelve
iTunes will now restore the firmware on your iPhone. This can also take up to 10 minutes. Once done you will be rebooted into jailbroken iOS 4.1!
***THANKS: Thank you to Geohot and the Dev-Teams for their hard work in making this jailbreak and tutorial possible!
How To Put The iPhone In DFU Mode And Jailbreak Even If Your Home Or Power Button Is Broken
Oct 18th


As you know, to get into DFU you must press the two buttons simultaneously for 10 seconds, but some times one of the two buttons will break. An alternative to jailbreak without having to go into the DFU mode is to use Blackra1n. However, if the iPhone freezes and you need to restore the firmware to do it again, this guide will come back again very useful.
What you need:
original Apple firmware
BetterZip on Mac or WinZip on Windows (or something similar, your choice)
How to do it:
1. Create a copy of the original apple firmware and change the file extension from .ipsw to .zip
2. Unpack the .zip file to view its content. Navigate to Firmware > all_flash
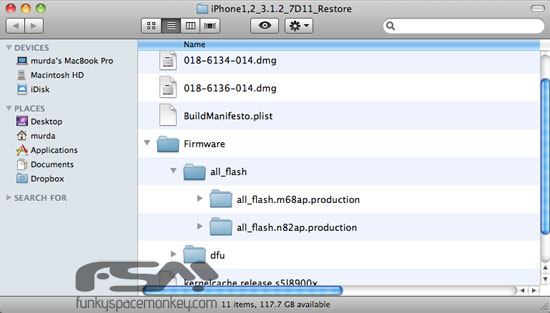
3. Inside you will get two folders ( all_flash.m68ap.production and all_flash.n82ap.production ) and both of them will contain various files. The ones you are interested in are:
LLB.m ** ap.RELEASE.img3
applelogo.xxx.img3
NOTE: asterisks stands for 68 or 82 – depending on the folder. “xxx” is a different number for each device.
4. Delete the LLB.m ** ap.RELEASE.img3 file in both folders and rename the applelogo.xxx.img3 file to LLB.m ** ap.RELEASE.img3
5. Save everything and rename the file back from .zip to .ipsw
6. Connect your iPhone or iPod Touch to your computer, open iTunes and click the “Restore” button while holding down the Alt key if you’re using Mac (Shift key if you’re on Windows).Now browsed for the modified .ipsw and restore your device with it.When iTunes is done restoring your device with the custom firmware, your iPhone/iTouch will load directly into the DFU mode and now you can restore with a custom jailbreak firmware.
So basically what you are doing here is, making LLB (which is not there) invalidate iBoot which causes it to go into a DFU loop. (thx iH8sn0w for your input )
Chronic Dev-Team Releases Greenpois0n Jailbreak for Mac
Oct 17th


The Chronic Dev-Team has released their Greenpois0n jailbreak utility for Mac. Greenpois0n provides an untethered jailbreak for iDevice users on the iOS 4.1 firmware.
Do not update to iOS 4.1 if you need to unlock. Those on iOS 4.0, 4.0.1, and 4.0.2 should use Limera1n to jailbreak instead. The only exception is iPhone 4 users who can use TinyUmbrella to update without upgrading their baseband.
Tutorials :
How to Jailbreak Your iPhone 3GS, iPhone 4 Using Greenpois0n (Mac)
Oct 17th


These are instructions on how to jailbreak your iPhone 3GS and iPhone 4 using Greenpois0n for Mac. Greenpois0n only supports iOS 4.1 firmware. Use Limera1n if you want to jailbreak iOS 4.0, iOS 4.0.1, iOS 4.0.2.
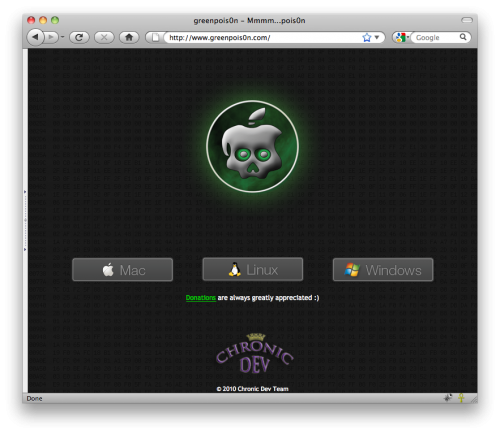
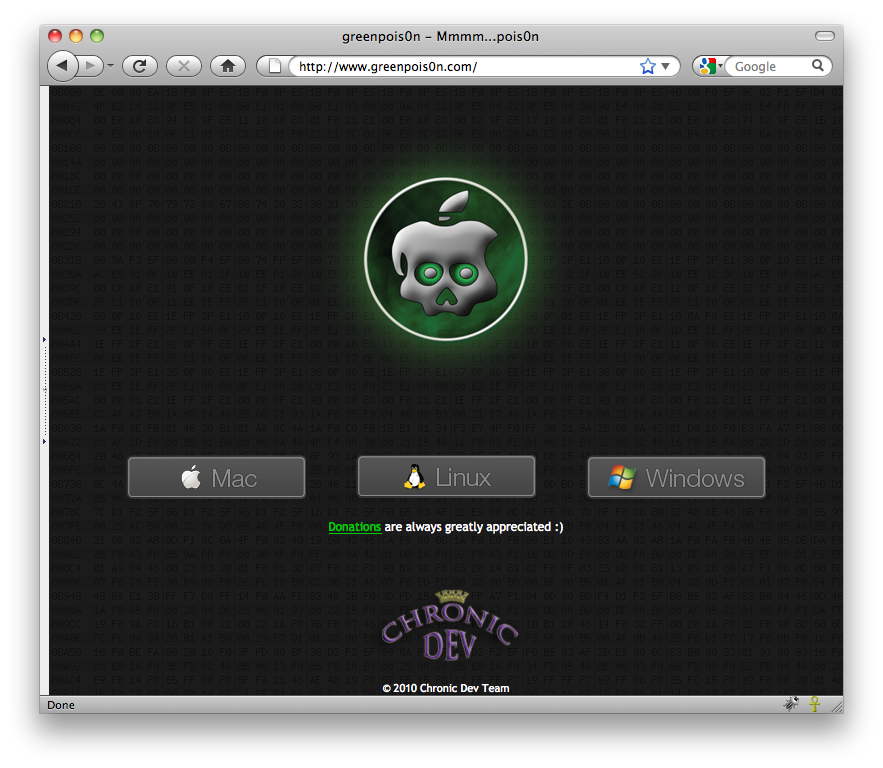
Open your web browser of choice and navigate to http://www.greenpois0n.com. Click the Mac link at the bottom of the screen.
 Step Two
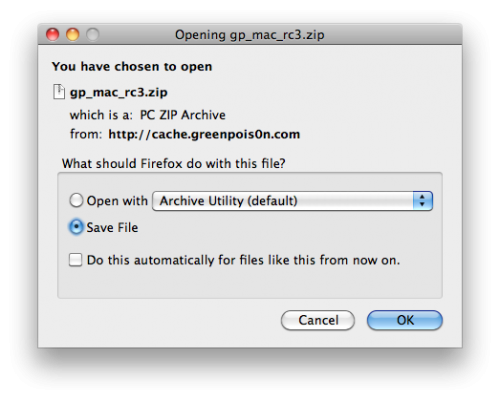
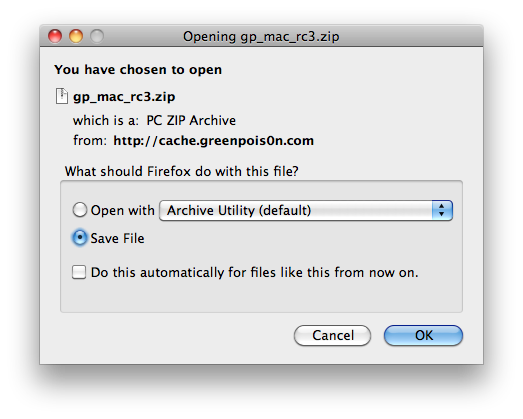
When prompted save the download to your desktop
 Step Three
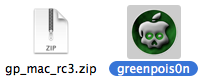
Double click the downloaded gp_mac_rc3.zip file to extract the archive then double click greenpois0n from the desktop to launch the application
 Step Four
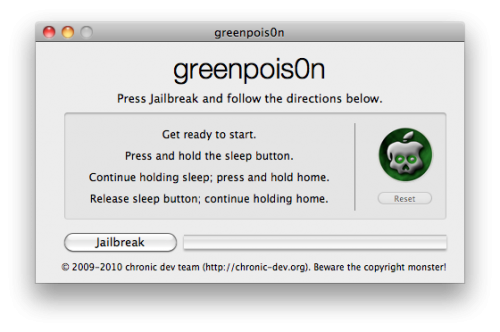
Connect your iPhone to the computer, power it off, then click the large Jailbreak button
 Step Five
You will now be instructed on how to place your iPhone into DFU mode.
 Step Six
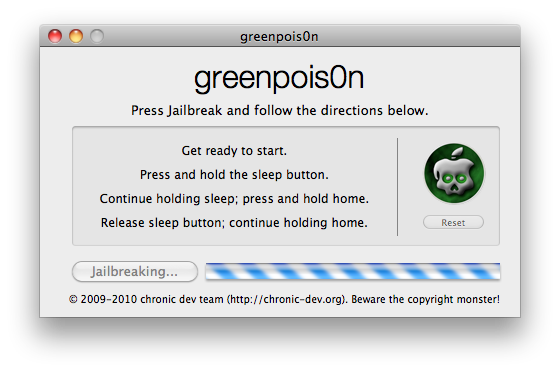
Once your iPhone is successfully in DFU mode the jailbreak will begin.
 Step Seven
Click the Quit button once the software application has completed.
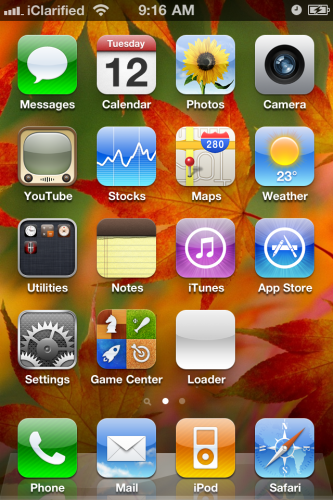
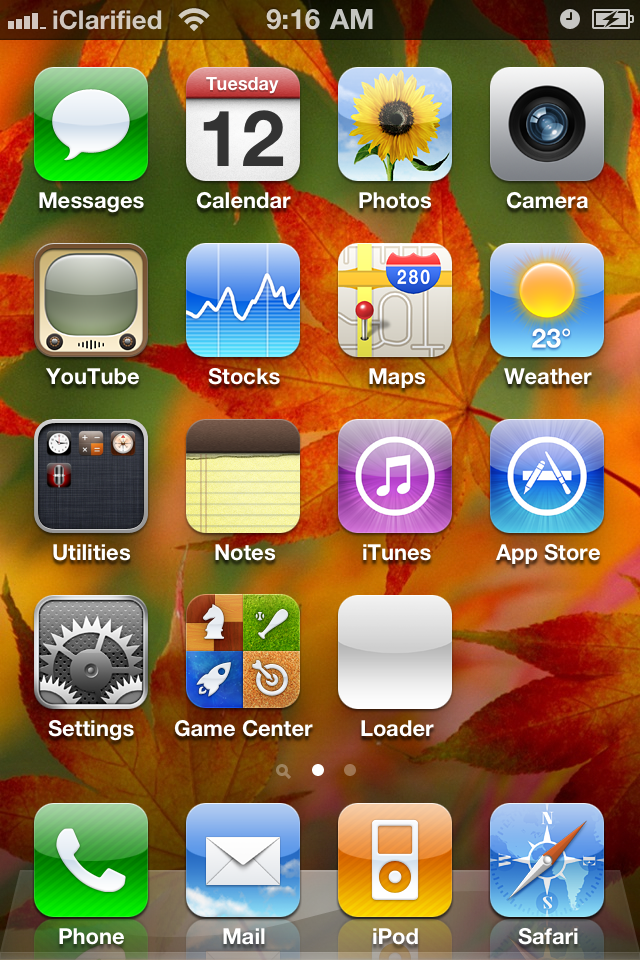
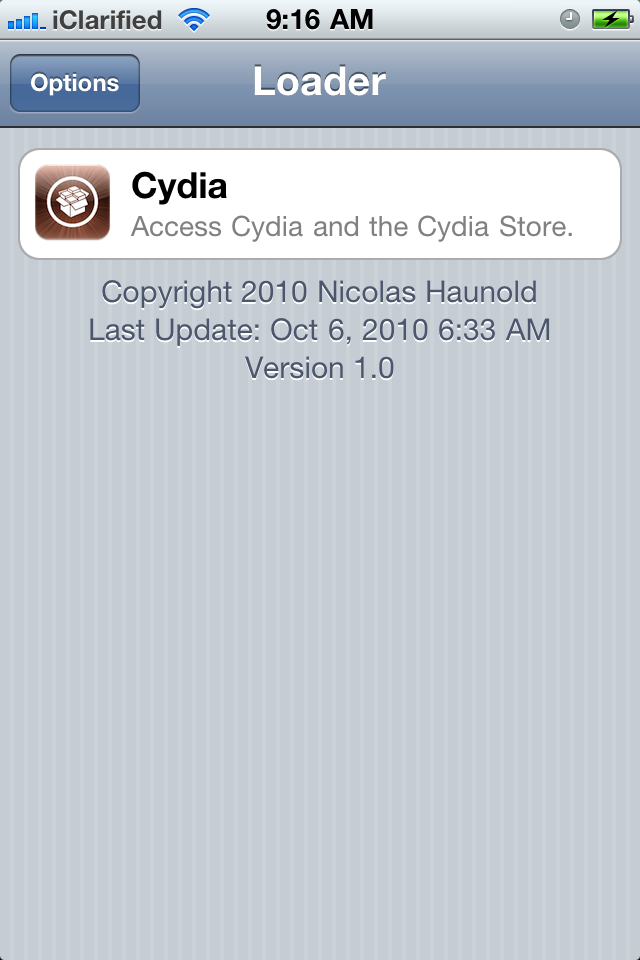
After the iPhone restarts you’ll notice a new Loader application on your Springboard. Press to launch it.
 Step Nine
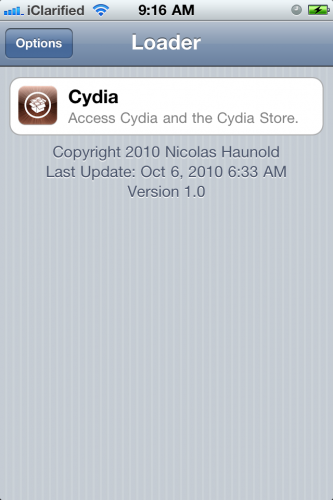
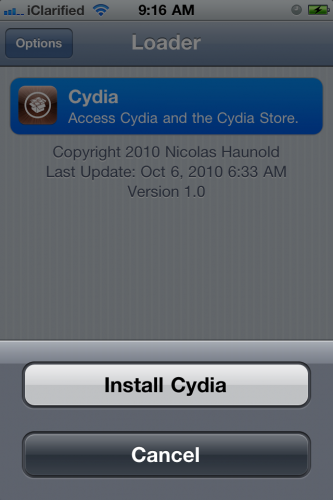
Press to select Cydia then press the large Install Cydia button that appears.
 Step Ten
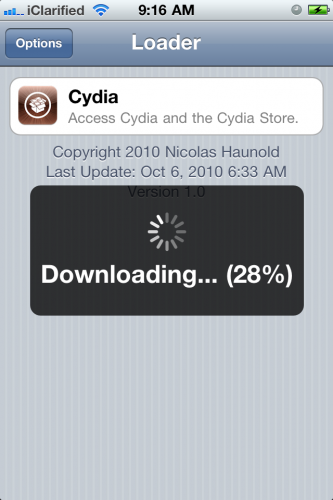
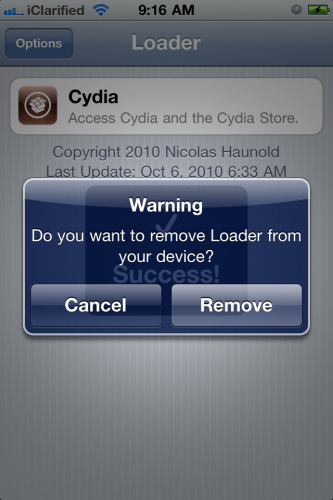
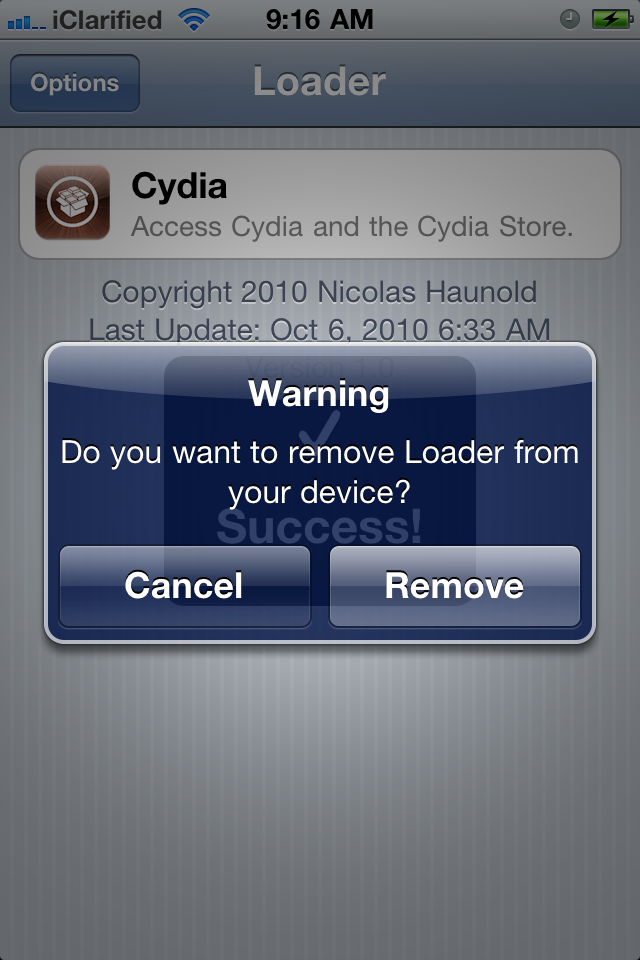
Once Cydia has installed successfully you will be asked if you want to remove Loader from your device. Press the Remove button then press the Home button. Your device will now automatically reboot.
 Step Eleven
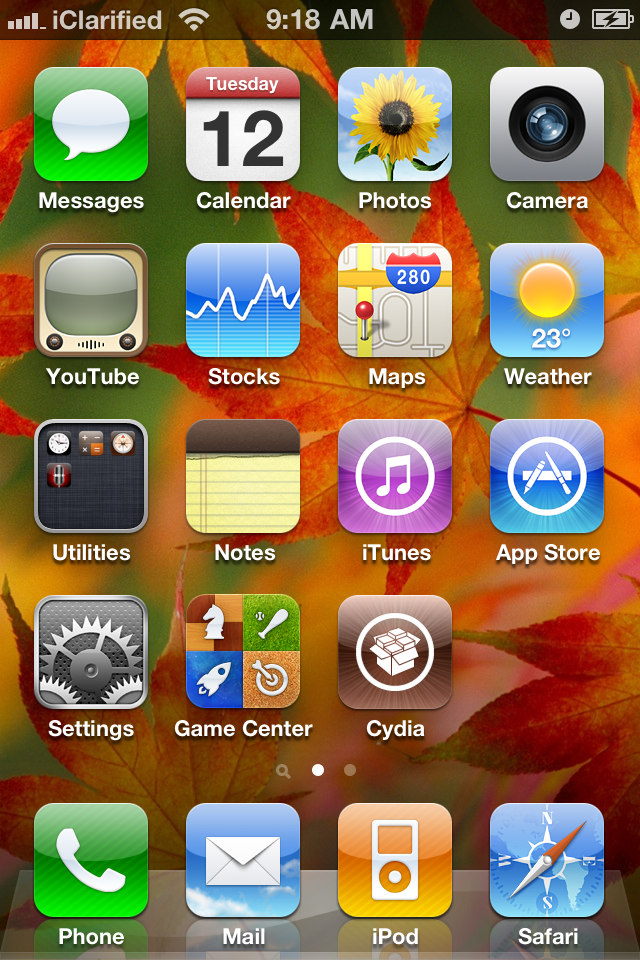
When your iPhone has restarted you can run Cydia. Let it do all the necessary updates then follow our Unlock tutorial if possible for your device.

Remember: Do not update to iOS 4.1 if you need the unlock. Ultrasn0w does not support that baseband yet. The only exception is the iPhone 4. You can update to iOS 4.1 without upgrading your baseband by following
this tutorial Step OneOpen your web browser of choice and navigate to http://www.greenpois0n.com. Click the Mac link at the bottom of the screen.
 Step Two
When prompted save the download to your desktop
 Step Three
Double click the downloaded gp_mac_rc3.zip file to extract the archive then double click greenpois0n from the desktop to launch the application
Step FourConnect your iPhone to the computer, power it off, then click the large Jailbreak button
 Step Five
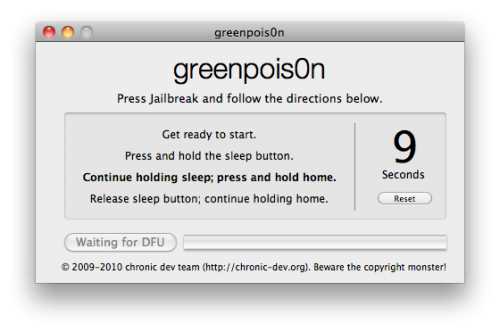
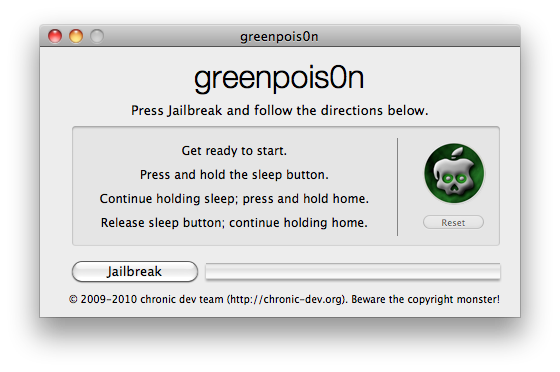
You will now be instructed on how to place your iPhone into DFU mode.
You will be asked to press and hold the sleep button for 3 seconds.
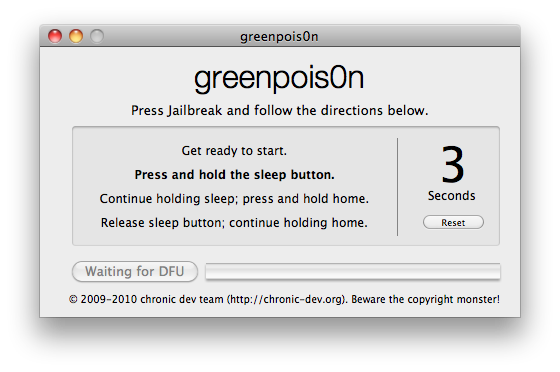
Continue holding sleep; press and hold home for 10 seconds.

Release sleep button; continue holding home for 15 seconds.
 Step Six
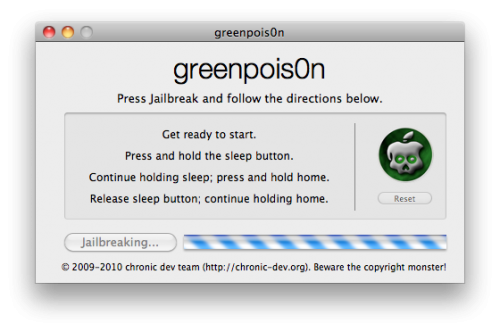
Once your iPhone is successfully in DFU mode the jailbreak will begin.
 Step Seven
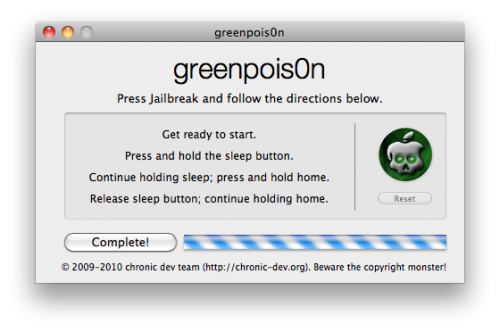
Click the Quit button once the software application has completed.
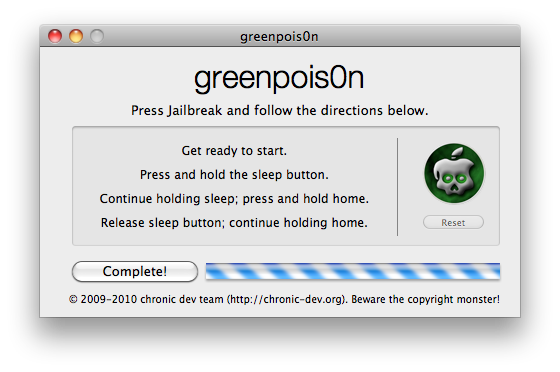
You’ll notice some verbose mode text scrolling on your device.
Step EightAfter the iPhone restarts you’ll notice a new Loader application on your Springboard. Press to launch it.
 Step Nine
Press to select Cydia then press the large Install Cydia button that appears.
 Step Ten
Once Cydia has installed successfully you will be asked if you want to remove Loader from your device. Press the Remove button then press the Home button. Your device will now automatically reboot.

 Step Eleven
When your iPhone has restarted you can run Cydia. Let it do all the necessary updates then follow our Unlock tutorial if possible for your device.
***A big thanks goes to the Chronic Dev Team who made this jailbreak possible.


Recent Comments