Mastery of the iPod Starts Here
Archive for August, 2010
Myth behind Downgrading iOS 4.0.2 to iOS 4.0.1 without SHSH Blobs
Aug 31st

Well, it sounds very exciting when we here that it is possible to downgrade from iOS 4.0.2 to iOS 4.0.1 or iOS 4.0 without SHSH Blobs. So, in previous tutorials (Mac / Win), I have mentioned that there is a possibility of downgrading your iOS 4.0.2 running devices to iOS 4.0.1 to iOS 4.0. Well, trying that method will not hurt because, anyway you are stuck with iOS 4.0.2 for now. If it works, you can go ahead and Jailbreak it. If not you can get to your previous state (iOS 4.0.2).
Semaphone, the man behind Tiny Umbrella/Firmware Umbrella shared his thought on Downgrading iOS 4.0.2 to iOS 4.0.1 / iOS 4.0 without SHSH Blob. Well, according to him it is not at all possible.. This is what he says..
Let me get this out first.
- This is not a miracle, at least not in the sense you all hope for
- SHSHs are STILL required for any iPhone 4, iPhone 3GS, iPad, iPod Touch 3G, and iPod Touch 2G (MC Model)
- There is NO way around this… unfortunately this method included.
Let me start by explaining something very important. The buildmanifest is used by iTunes to build much of the TSS request that is used to obtain your SHSH for any given firmware revision. Unfortunately, the BuildNumber has no part to play in the request for SHSH. All that you ended up doing in following these directions is request 4.0.1 SHSH blobs. THAT IS ALL. Since every single one of you that got this to work changed your hosts file to point to Cydia, Cydia responded to the TSS request with an SHSH blob that was ALREADY “on-file”. There was no magic. There was no miracle, apart from the lucky break that your device had been put on Cydia’s SHSH request list at some time in the distant past.
That’s it in a nutshell folks. There was no amazing technique for bypassing Apple’s TSS. There was no amazing exploit that exists in DFU mode allowing for 4.0.2 -> 4.0.1 downgrading. It’s simple; Cydia had your SHSH because at sometime in the past either:
- Someone saved your SHSH with that device using TinyUmbrella and the default options
- Someone restored that device with Cydia in the hosts pointing to gs.apple.com
- Someone jailbroke the device and pressed ‘Make my life easier’
How To Downgrade Your iPhone From iOS 4.0.2 to iOS 4.0.1/iOS4 Without SHSH Blobs [Windows]
Aug 31st


This is really an awesome news for those who have upgraded to iOS 4.0.2 and want to downgrade it back to iOS 4.0.1 to take advantage of JailbreakMe (as the iPhone Dev Team is not planning to release a jailbreak tool for iOS 4.0.2). Until now, it is only possible if you have saved SHSH Blobs for iOS 4.0.1. But, it looks like there is a possibility of downgrading from iOS 4.0.2 to iOS 4.0.1 or iOS 4.0 with out SHSH Blob. With that said, lets not waste any more times and get started. Let us know if this work around worked for your.
Warning: Please do it on your own risk. We will not be responsible for any damage or breakage of your iPhone.
Step 1:
Download iPhone Firmware Version (iOS 4.0.2 & iOS 4.0.1/ iOS 4.0)
Step 2:
Now, extract the ipsw file that you have just changed using WinRaR
Step 3:
Open the Buildmanifest.plist with Notepad.
Step 4:
Now, Click “Control” + “F” to get the Find Windows
Step 5:
Here, Find and replace all “8A306? (if you are using iOS 4.0.1)/ “8A293? (if you are using iOS 4.0) with “8A400?.
Step 6:
Now, Open the Restore.plist with Notepad
Step 7:
Now, Click “Control” + “F” to get the Find & Replace Windows.
Step 8:
Here, Find and replace all “8A306? (if you are using iOS 4.0.1)/ “8A293? (if you are using iOS 4.0) with “8A400?.
Step 9:
Now, take the iOS 4.0.2 firmware file, rename its extension from .ipsw to .zip
Step 10:
Extract the iOS 4.0.2 file that we have just rename its extension and leave it open.
Step 11:
Now, move all the iOS 4.0.1 / iOS 4.0 files to iOS 4.0.2 windows (Folder that we have open in Step 11)
Step 12:
Once moved, Delete all the dmg files that have 002 at the end, leaving only the 001 files left and Close this windows.
Step 13:
Now, Change the iOS 4.0.2 firmware extension to .ipsw from .zip
Step 14:
Navigate to the following folder “C:\Windows\System32\drivers\etc”
Step 15:
Now, look for the file name hosts and open it with Notepad
Step 16:
Add the following line at the bottom of the file (if you have 127.0.0.1 gs.apple.com in the file comment it out by adding # in front of the line)
74.208.10.249 gs.apple.com
Step 17: Now, click on File and select Save
Note: To double check if you updated the hosts file – Open one more terminal window and type “ping gs.apple.com” you should get some thing like this .. Step 18: Now, grab your iPhone, plug it in and lets put your iPhone into DFU mode.
- Here, iTunes will alert your that “iTunes has detected an iPhone in recovery mode. You must restore it before it can be used.” Click okay
Step 19:
Now, it time for us to restore the firmware – Hold down the “SHIFT” key and click on “Restore“.
Step 20:
That’s it! Now, you can just sit and relax and let the restore finish.
How To Downgrade Your iPhone From iOS 4.0.2 To iOS 4.0.1/iOS 4 Without SHSH Blobs [Mac]
Aug 31st


This is really an awesome news for those who have upgraded to iOS 4.0.2 and want to downgrade it back to iOS 4.0.1 to take advantage of JailbreakMe (as the iPhone Dev Team is not planning to release a jailbreak tool for iOS 4.0.2). Until now, it is only possible if you have saved SHSH Blobs for iOS 4.0.1. But, it looks like there is a possibility of downgrading from iOS 4.0.2 to iOS 4.0.1 or iOS 4.0. With that said, lets not waste any more times and get started. Let us know if this work around worked for your.
Warning: Please do it on your own risk. We will not be responsible for any damage or breakage of your iPhone.
Step 1:
Download iPhone Firmware Version (iOS 4.0.2 & iOS 4.0.1/ iOS 4.0)
Step 2:
Rename the downloaded file extension from .ipsw to .zip
Step 3:
Now, extract the .zip file that you have just changed.
Step 4:
Open the Buildmanifest.plist with TextEdit
Step 5:
Now, Click “Command” + “F” to get the Find & Replace Windows.
Step 6:
Here, In the pop up window Type “8A306? (if you are using iOS 4.0.1)/ “8A293? (if you are using iOS 4.0) in Find Field & “8A400? in Replace field
Step 7:
Click on “Replace All” and Save the File
Step 8:
Now, Open the Restore.plist with Text Edit
Step 9:
Now, Click “Command” + “F” to get the Find & Replace Windows.
Step 10:
Here, In the pop up windows Type “8A306? (if you are using iOS 4.0.1)/ “8A293? (if you are using iOS 4.0) in Find Field & “8A400? in Replace field
Step 11:
Click on “Replace All” and Save the File
Step 12:
Now, take the iOS 4.0.2 firmware file, rename its extension from .ipsw to .zip
Step 13:
Extract the iOS 4.0.2 file that we have just rename its extension and leave it open.
Step 14:
Now, move all the iOS 4.0.1 / iOS 4.0 files to iOS 4.0.2 windows (Folder that we have open in Step 13)
Step 15:
Once moved, Delete all the dmg files that have 002 at the end, leaving only the 001 files left and Close this windows.
Step 16:
Now, Change the iOS 4.0.2 firmware extension to .ipsw from .zip
Step 17:
Click on Finder and while holding SHIFT + COMMAND Key press “G”.
Step 18:
In the field type /etc/ and Hit enter.
Step 19:
Now, look for the file name hosts and open it with TextEdit.app
Step 20:
Now, add the following line at the bottom of the file (if you have 127.0.0.1 gs.apple.com in the file comment it out by adding # in front of the line)
74.208.10.249 gs.apple.com
Step 21:
Now, click on File and select Save As and save it on the desktop. (Make sure you un-check “if no extension is provided” and remove the txt. The file should not have any ext.)
Step 22:
Go back to the desktop and drag the hosts file into the etc folder. You need to authenticate it, enterpassword and click on replace to replace with the updated one.
Note: To double check if you updated the hosts file – Open one more terminal Windows and type “ping gs.apple.com” you should get some thing like this ..
PING gs.apple.com (74.208.10.249): 56 data bytes
Step 23:
Now, grab your iPhone, plug it in and lets put your iPhone into DFU Mode.
- Here, iTunes will alert your that “iTunes has detected an iPhone in recovery mode. You must restore it before it can be used.” Click okay
Step 24:
Now, it time for us to restore the firmware – Hold down the “Option” key and click on “Restore“.
Step 25:
Select the Firmware and click Open to start the restore.
Step 26:
That’s it! Now, you can just sit and relax and let the restore finish.
How to Setup Push Hotmail on Your iPhone
Aug 30th


These are instructions on how to setup push Hotmail using ActiveSync on your iPhone or iPod touch. After doing this you will automatically be notified when a new email arrives rather then waiting for a scheduled check.
Step One
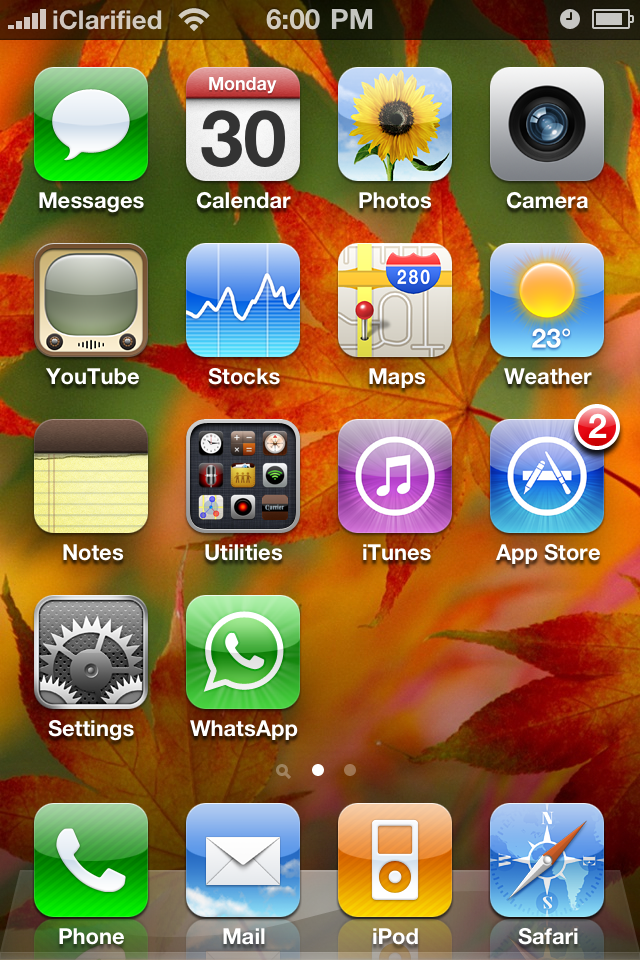
Press to select Settings from your iPhone SpringBoard.
 Step Two
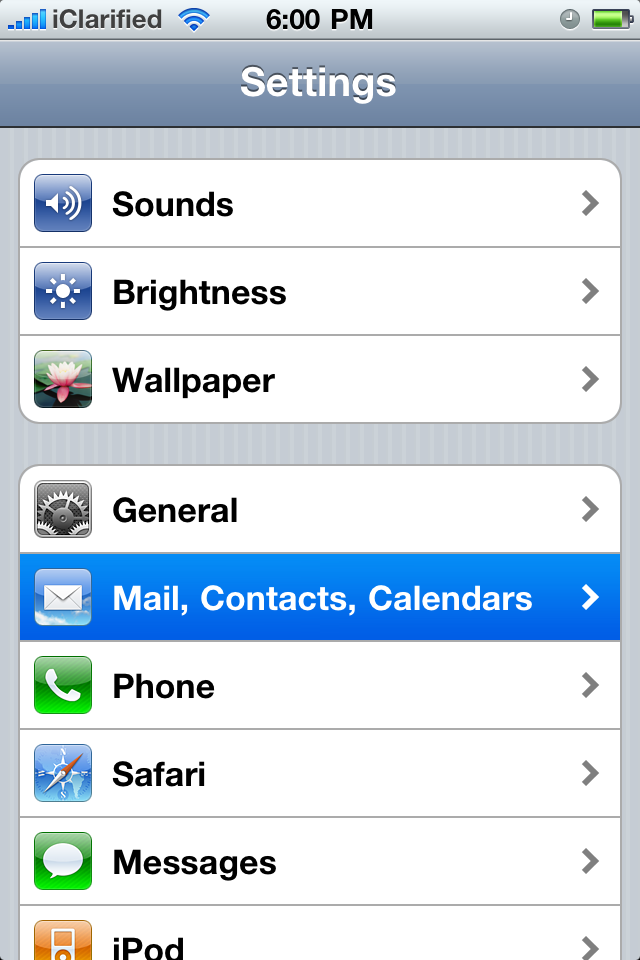
Press to select Mail, Contacts, Calendars from the Settings Menu.
 Step Three
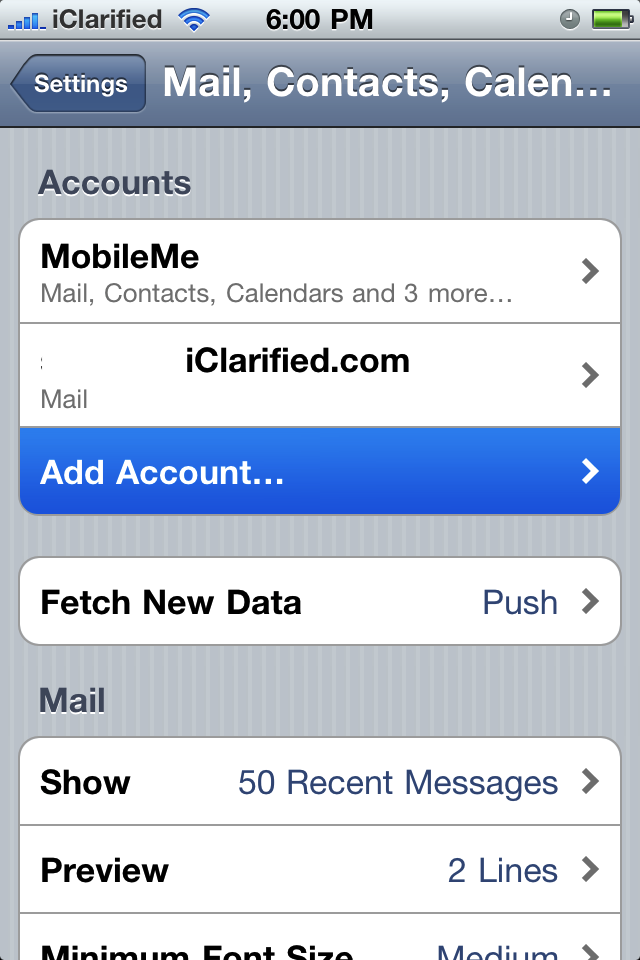
Press Add Account..
 Step Four
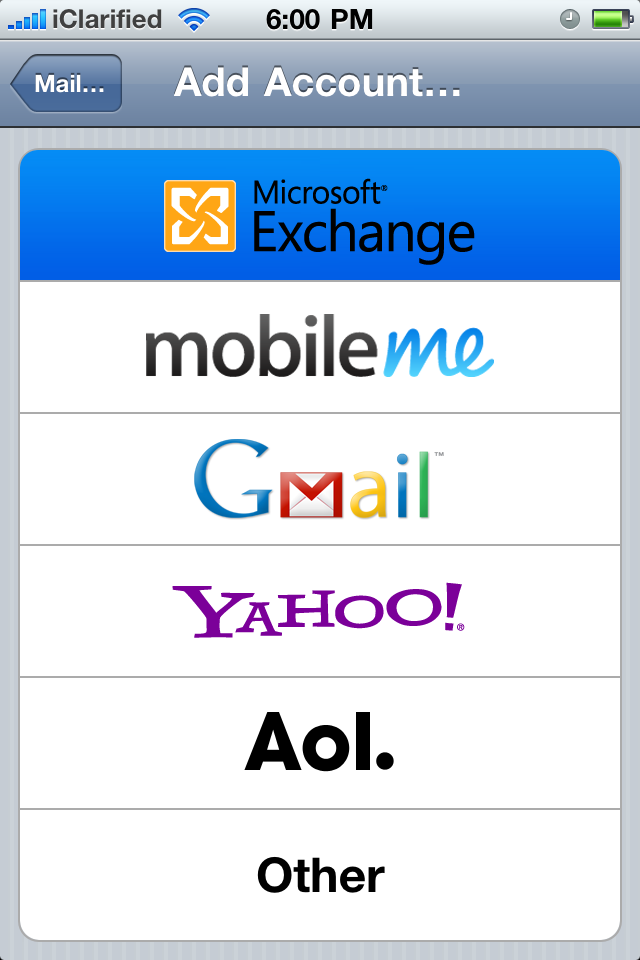
Select Microsoft Exchange from the list of account types
 Step Five
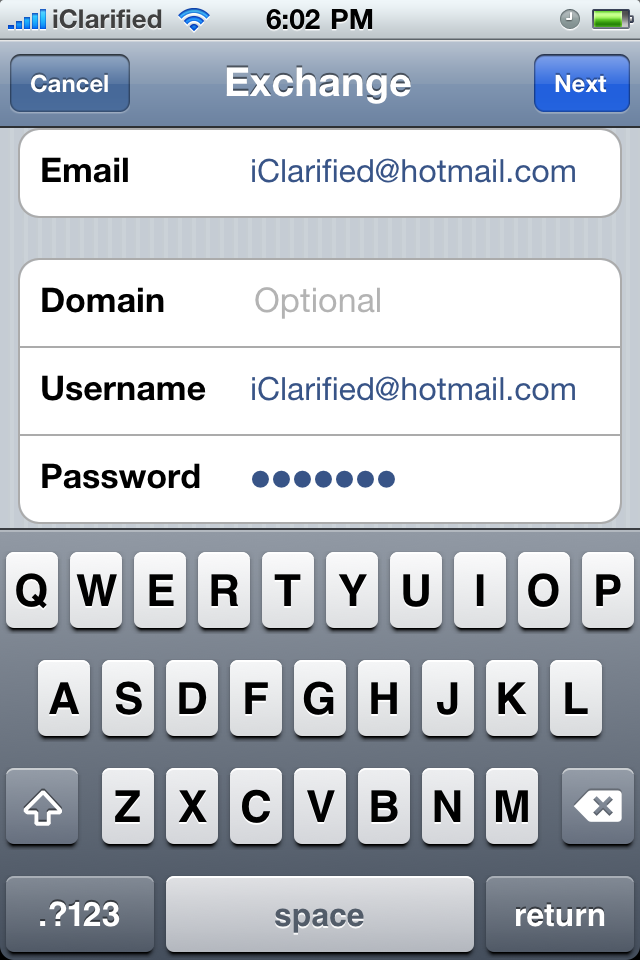
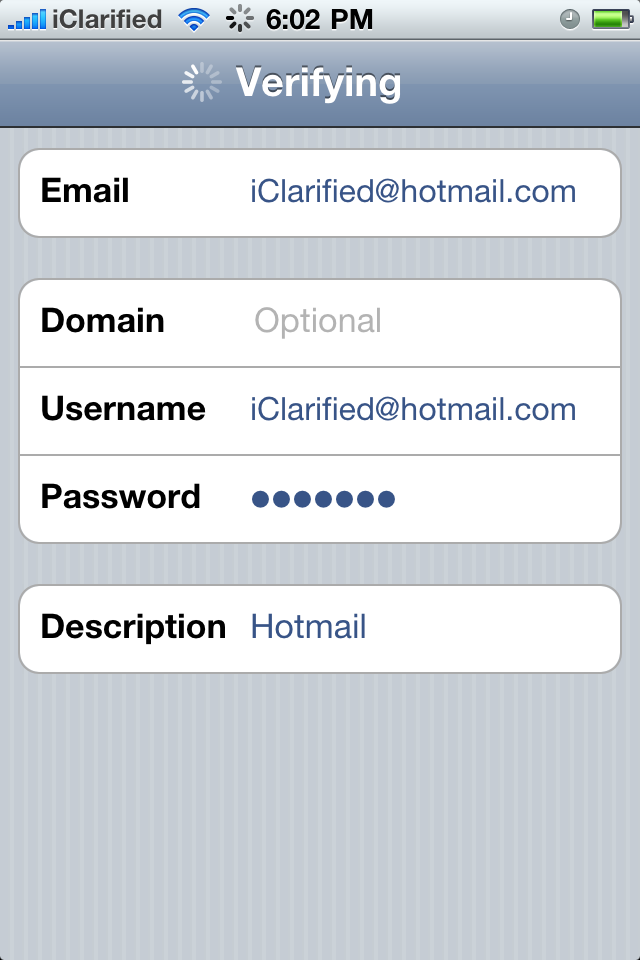
Enter your full hotmail email address for the Email and Username fields then fill in your password. Press theNext button at the top right of the screen to continue.
 Step Six
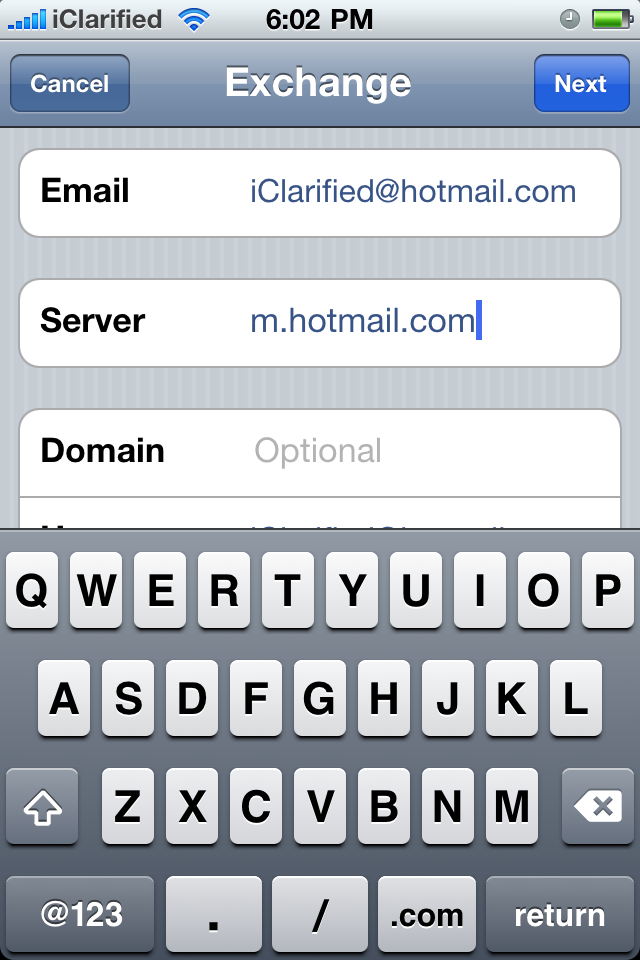
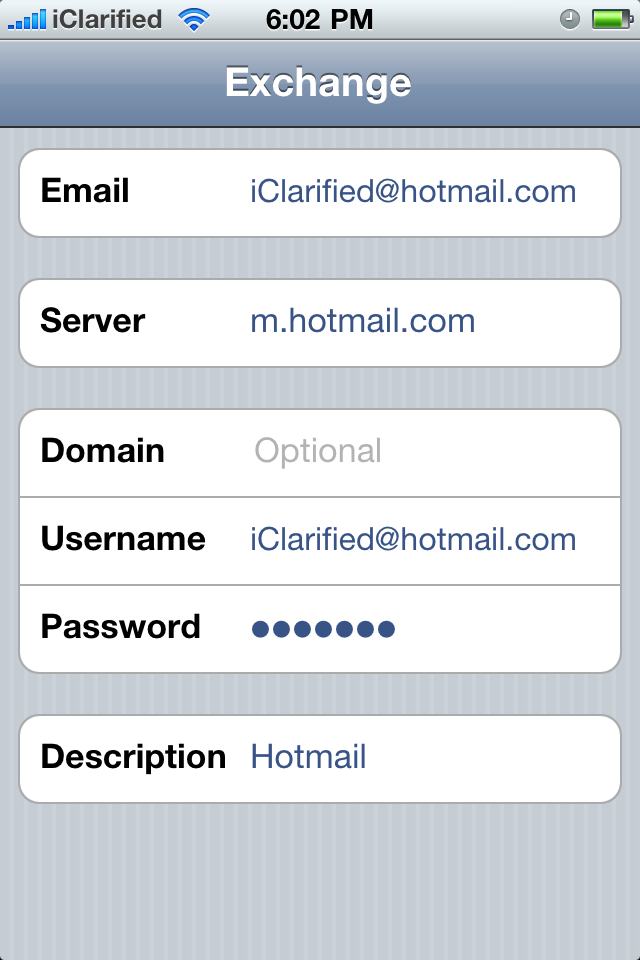
Input m.hotmail.com as the server address and press the Next button.

 Step Seven
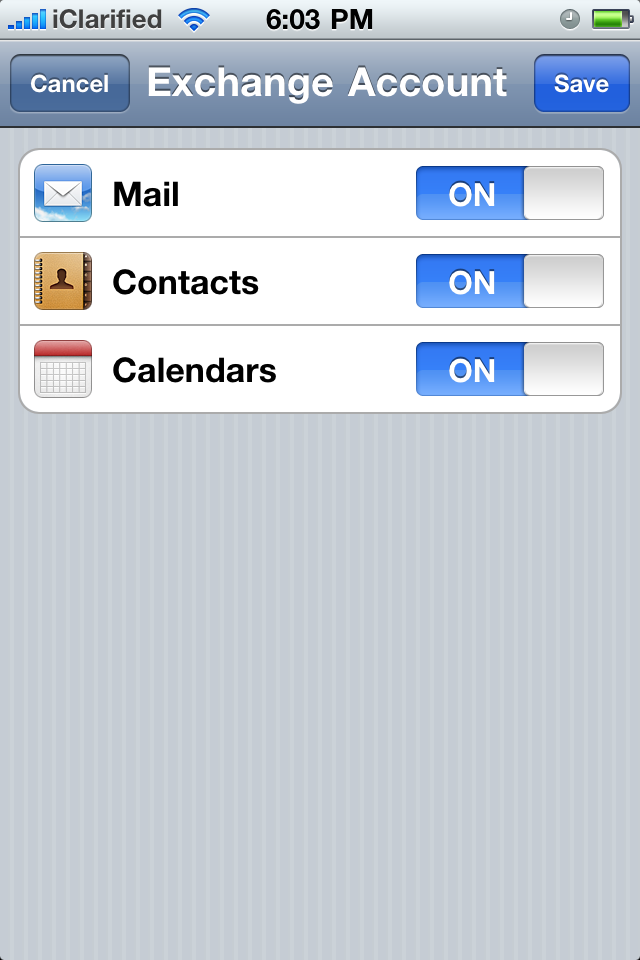
Use the switches to select which items you would like to sync and press the Save button.

Press to select Settings from your iPhone SpringBoard.
 Step Two
Press to select Mail, Contacts, Calendars from the Settings Menu.
 Step Three
Press Add Account..
 Step Four
Select Microsoft Exchange from the list of account types
 Step Five
Enter your full hotmail email address for the Email and Username fields then fill in your password. Press theNext button at the top right of the screen to continue.
 Step Six
Input m.hotmail.com as the server address and press the Next button.
 Step Seven
Use the switches to select which items you would like to sync and press the Save button.
How To Use iPhone While It Syncs With iTunes Using Synchronicity
Aug 30th


Synchronicity is a new application that lets you use your iPhone or iPod touch while it sync with iTunes.
Synchronicity gives you the option to use your device during an iTunes sync. Instead of being stuck at the lock screen while you transfer new content, you can unlock, run apps, make calls, etc. You can do whatever you want, except run the Music app, which is disabled during syncs to prevent data corruption.
Synchronicity works on any device with firmware 4.0 or 4.0.1 and can be purchased from the Cydia Store for $2.

How To Boost Battery Life On Your iPhone 3G, iPhone 3GS & iPhone 4
Aug 30th


Auto3G extends your battery life by automatically turning off the 3G radio (leaving on the 2G radio) when you lock your iPhone and automatically turning on the 3G radio when you unlock your iPhone. This way you always have the speed of 3G when you need it without the battery loss.
As explained by Apple, this results in up to 100% greater battery life: “7 hours of talk time on 3G, 14 hours of talk time on 2G.” (
apple.com/batteries/iphone.html)Auto3G can be purchased from the Cydia Store for $5.99
Compatible with iPhone 3G, iPhone 3GS & iPhone 4 running iOS 4

Synchronicity: Use Your iPhone/iPod Touch/iPad While Syncing With iTunes
Aug 30th

New day, new app in Cydia: Synchronicity. Synchronicity gives you the option to use your device during an iTunes sync. Instead of being stuck at the lock screen while you transfer new content, you can unlock, run apps, make calls etc.
You can do whatever you want, except run the Music app which is disabled during syncs to prevent data corruption. Though overall performance is virtually unaffected, you may notice sight lag in certain resources/CPU intensive operations.
NOTE: Synchronicity works on any iOS device running firmware 4.0 or 4.0.1
You can buy Synchronicity from Cydia Store for $2.00 via BigBoss repo…
Auto3G: Extend Your iPhone’s Battery Life By Automatically Turning Off 3G When You Don’t Need It
Aug 30th


New day, new app in Cydia: Auto3G. Auto3G extends your battery life by automatically turning off the 3G radio ( leaving on the 2G radio ) when you lock your iPhone and automatically turning on the 3G radio when you unlock your iPhone.
This way you always have the speed of 3G when you need it without the battery loss. As explained by Apple, this results in up to 100% greater battery life: ’7 hours of talk time on 3G, 14 hours of talk time on 2G’.
NOTE: Requires an iPhone with 3G.
You can buy Auto3G from Cydia Store for $5.00 via BigBoss repo…
BackLiter: One-Touch Control Of Your iPhone’s Backlight Levels
Aug 30th


New day, new app in Cydia Store: BackLiter. BackLiter is a new one-touch utility app for controlling your phone’s backlight levels. If you’re the hardcore iPhone user, you try to get everything you can out of your hardware. That means keeping your screen dim when you don’t need it bright, to save battery life.
But, what happens when you move outside, and the ambient light swamps your display? Or you’re in the car? And what happens, when you want to change the screen brightness quickly, and don’t want to spend the time or attention, to navigate multiple touches, and potentially a slider that’s difficult to control precisely, even when you’re sitting still?
BackLiter is a new tweak from Enscand, Inc. , and it’s the simplest, most efficient backlight control imaginable. You use your device Settings to preset two brightness levels ( one dim, one bright ). Then, when you run the app, with one touch, the app toggles your screen brightness between those two levels. The app tells you what it’s doing, and then closes itself. Literally one touch.
You can even set your preferences so that the app doesn’t even take the time to show you the message. It just starts, changes brightness, and quits. BackLiter’s change is temporary. When your phone’s springboard restarts, after unlocking your phon, your normal iPhone screen brightness levels will return.
BackLiter supports iPhone OS 3.0 through 4.0.1 and you can buy it from Cydia Store for $0.99 via BigBoss repo…
Resupported4: iPhone Video Out With Unsupported Cords
Aug 30th


New day, new app in Cydia: Resupported4. Did you know your iPhone/iPod Touch can play videos on your TV, but Apple wants you to pay $50 to get a cable that lets you do such? Of course you do, but maybe you didn’t know you don’t need to do so. There are plenty of accessories on the market that allow you to play video out with iOS devices, but when plugged in, the device displays ‘This accessory is unsupported by iPhone’ message and refuse to play video out.
Resupported4 is a safe and cheap alternative to paying the Apple tax. It enables video out through many unsupported AV cables and devices, and it does not modify system files! It also adds video playback support to many 3rd party apps, such as Hulu+, IMDB, VEVO etc.
NOTES:
Cable detection only works if audio is normally able to go out your dock cable
Ressuported4 will not (by itself) mirror your applications on a TV. You will need DisplayOut to show your device’s screen on a TV
Accessory warning messages may disappear
Resupported4 will NOT enable charging with cords that do not already charge your device. That is a hardware, not a software limitation
You can buy Ressuported4 from Cydia for $4.99. (10-day full trial available!)


Recent Comments