Mastery of the iPod Starts Here
Archive for January, 2011
How To Update iPhone 4 to iOS 4.2.1 While Preserving 01.59.00 Baseband[Windows/Mac]
Jan 3rd

These are the instructions on how to update iPhone 4 to iOS 4.2.1 firmware while preserving the baseband to 01.59.00 so that it could be unlocked. Please keep in mind that jailbreak for 4.2.1 is still tethered. also note that this tutorial is not for you if you have a baseband other than 01.59.00
This method is known to work only with the iPhone 4, hence it may not work on other devices. The procedure seems fairly simple! We highly recommend you to backup everything on your device before following the procedure. Proceed at your own risk only.
Step 1:
Download the original iOS 4.2.1 firmware for iPhone 4 from here.
Step 2:
Now trick iTunes into thinking that it is watching Apple servers, while in real, we are going to change the address to Saurik’s server. To do this:
Navigate to C:\Windows\System32\drivers\etc\ and locate “hosts” file.
Mac OS X users can get to “/etc/” directory by going through “Go –> Go to Folder” from Finder.
Open this “hosts” file in Notepad (for Windows) or TextEdit (for Mac OS X) and add the following line at the end :
74.208.105.171 gs.apple.com
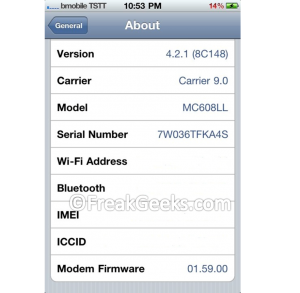
Now simply save this file and you are done. NOTE for Windows 7 and Vista : Start “Notepad” with Administrator privileges by right clicking on “Notepad” app, and click on “Run as Administrator“ option. NOTE for Mac OS X: Make sure you have full read and write access on your account when you are saving the host file. If it still throws permission error, simply copy the host file to desktop, make the required changes, and then replace it with the original file in “/etc/” directory. Step 3: Start iTunes, click on your iOS device icon from the sidebar in iTunes. Now press and hold left “alt” (option) button on Mac, or Left “Shift” button if you are on Windows on the keyboard and then click on “Restore” (Not “Update” or “Check for Update”) button in the iTunes and then release this button. This will make iTunes prompt you to select the location for your iOS 4.2.1 firmware file. Select this ipsw file and click on “Open” to restore your iPhone. Step 4: Now at some point while restoring to iOS 4.2.1, iTunes will throw 1013 error at you. This is normal, just ignore this error as the firmware has already been successfully installed on the device without the upgraded baseband. Step 5: Your iPhone at this point will be stuck in Recovery Mode, showing “Connect to iTunes” screen. To exit your device from Recovery Mode, download a program called TinyUmbrella. Run it and the click on “Exit Recovery” button. Your device will now restart normally. Once you have completed this procedure, Go to Settings>General>About on your iPhone, and scroll down to check your Modem Firmware (Baseband), which should now read 01.59.00 (which of course is unlockable using Ultrasn0w). You should now be able to jailbreak your iPhone 4 on iOS 4.2.1 (tethered) using Redsn0w 0.9.6, or untethered using Redsn0w 0.9.7. Once you have jailbroken your iPhone 4, you can safely unlock it on iOS 4.2.1 (on 01.59.00 baseband) using Ultrasn0w 1.2
How To Update iPhone 4 on 4.2.1 Firmware using Custom Restore with 01.59.00 Baseband
Jan 3rd

These are the instructions on how to restore or update iPhone 4 on iOS 4.2.1 by preserving the baseband to 01.59.00 using Custom Firmware. Those of you who have already upgraded to 4.1 & 4.2.1 and are on their respective Modem Firmware (02.10.04, 03.10.01) this is strictly NOT for you. wait for the unlock to come.
Step 1:
Download the following files :
Custom Firmware of iOS 4.2.1 (iPhone 4)
Redsn0w 0.9.6b5 OR 0.9.6b6
Stock/Original iOS 4.2.1 Firmware (iPhone 4)
Step 2:
Connect your phone with your computer and switch it off.
Step 3:
Open Redsn0w and browse original 4.2.1 firmware.
Step 4:
if your phone has new bootrom version then select Yes and click on the next button.
Step 5:
Select “Just Enter Pwned DFU Mode Right Now”
Step 6:
click on the next button and follow the on-screen instructions to put your device in DFU mode.
Step 7:
open iTunes. on Summary tab, hold shift key on your keyboard and click on the Restore button. A dialog box will appear , asking you to select .ipsw firmware. select custom 4.2.1 firmware and click Open.
Step 8:
wait for 5-10 minutes for phone to restore.
Step 9:
Disconnect your phone once the restore is complete and connect it again and launch Redsn0w.
Step 10:
Browse original firmware on Redsn0w & select “Yes” if your phone is a new bootrom model and click on next.
Step 11:
Select only “Install Cydia” as option and click on the next button.
Step 12:
follow the instructions and put your iPhone in DFU mode.
Step 13:
if your phone stucks, re-run Redsn0w and select only “just boot tether right now” option and click on next button.
Step 14:
Open Cydia and add repo666.ultrasn0w.com/ to install Ultrasn0w package so that you could unlock your phone.
You now have a fully jailbroken & unlocked iOS 4.2.1 on iPhone 4 with 01.59.00 baseband.

How To Update Your iPhone 3GS To 4.2.1 While Preserving The Baseband as 05.13.04
Jan 3rd

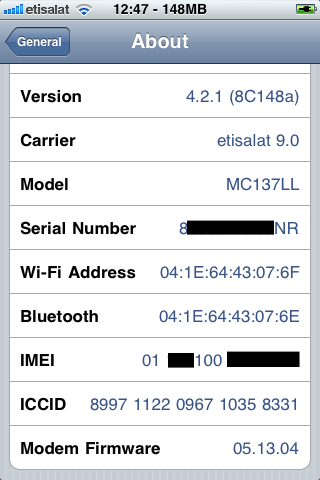
These are the instructions on how to jailbreak iPhone 3GS on iOS 4.2.1 by restoring custom firmware with preserved baseband as 05.13.04. those of you who have already upgraded to 4.1/4.2.1 with iPad’s 06.15.00 baseband, this is strictly NOT for you. your baseband should be 05.13.04 or below.
Step 1 :
Download the following files :
Redsn0w 0.9.6b5 OR 0.9.6b6
Stock/Original iOS 4.2.1 Firmware (3GS)
Step 2:
Connect your phone with your computer and switch it off.
Step 3:
Open Redsn0w and browse original 4.2.1 firmware.
Step 4:
if your phone has new bootrom version then select Yes and click on the next button.
Step 5:
Select “Just Enter Pwned DFU Mode Right Now”
Step 6:
click on the next button and follow the on-screen instructions to put your device in DFU mode.
Step 7:
open iTunes. on Summary tab, hold shift key on your keyboard and click on the Restore button. A dialog box will appear , asking you to select .ipsw firmware. select custom 4.2.1 firmware and click Open.
Step 8:
wait for 5-10 minutes for phone to restore.
Step 9:
Disconnect your phone once the restore is complete and connect it again and launch Redsn0w.
Step 10:
Browse original firmware on Redsn0w & select “Yes” if your phone is a new bootrom model and click on next.
Step 11:
Select only “Install Cydia” as option and click on the next button.
Step 12:
follow the instructions and put your iPhone in DFU mode.
If you r getting White Cydia Icon just switch of your phone and open redsnow choose Stock firmware 4.2.1 and choose the option “Just boot tethered right now” and click “next” again “next” then follow the screen…then you will see the cydia…
Step 13:
Finally you can see your phone is with old Baseband. now just you can install the ultrasnow 1.2 from Cydia adding repo666.ultrasn0w.com
How To Downgrade iPhone 3G Baseband From 06.15.00 to 05.13.04
Jan 3rd

The following method will help you to downgrade the baseband of iPhone 3G from 06.15.00 to 05.13.xx which is unlockable using Ultrasn0w. This method will also enable you to restore your device on official stock firmware using iTunes which was otherwise not possible on iPad’s 06.15.00 baseband.
This method currently only works with the iPhone 3G with boootloader 5.08. this procedure is fairly straightforward, however, we would not recommend novice users to try this. we also highly recommend you to backup everything on your device before following this procedure.do it at your own risk.
if you are unsure about your iPhone 3G’s bootloader version then simply download F0recast from here
Requirement :
Jailbroken iPhone 3G with 5.08 bootloader version.
-
Fuzzyband Downgrader installed through Cydia
-
afc2add installed from Cydia
-
-
Certificate to use with Fuzzyband
Step 1:
Step 2:
Install Fuzzyband from Cydia and start this app.
Step 3:
Connect your iPhone 3G with computer via USB cable.
Step 4:
Start i-FunBox/iPhone Browser and click File, then navigate to Applications/Fuzzyband.app, right-click and then select Copy from PC.
Step 5:
Select the ICE2-06.15.00.cert file you downloaded earlier and then copy it to this location: Applications/Fuzzyband.app.
Step 6:
Now simply disconnect your iPhone from your computer and reboot. Start Fuzzyband app (which you previously installed using Cydia) on your iPhone.
Step 7:
In Fuzzyband, you will now see your current version of Baseband, (which should still be 06.15.00). But now you will have the option to downgrade it to version 05.13.xx.
Once you have downgraded, Go to Settings>General>About, and scroll down to check your Baseband which should now read 05.13.xx (which is unlockable via Ultrasn0w). You can now also update or restore any firmware without iTunes throwing errors.
How to Quickly Boot Your Tethered Jailbroken iPhone (Windows)
Jan 3rd


These are instructions on how to quickly boot your tethered jailbroken iPhone using RedSn0w for Windows.
Step One
Create a Pwnage folder on your Desktop and in it place:
? RedSn0w 0.9.6rc7
? Your iPhone firmware ipsw (download here)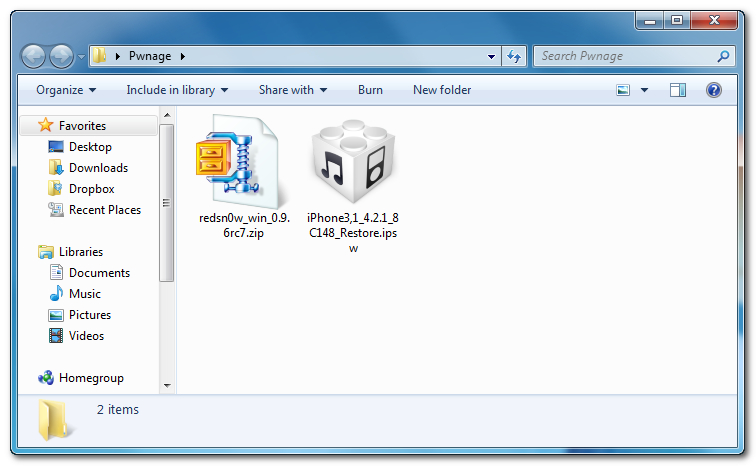
Step Two
Double click the RedSn0w archive to extract it.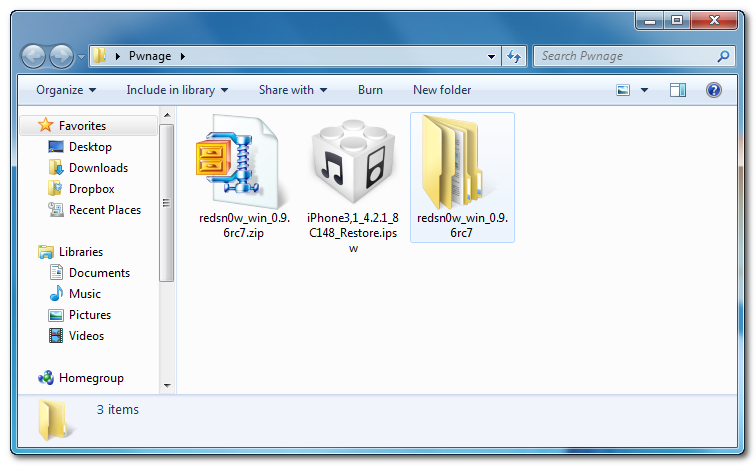
Step Three
Press the Windows and R key then input cmd and click OK to launch the Command Prompt.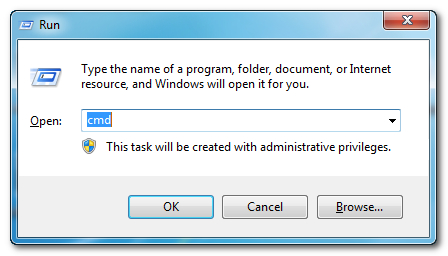
Step Four
Input the following command for devices with the new bootrom:
%homepath%\Desktop\Pwnage\redsn0w_win_0.9.6rc7\redsn0w.exe -j -i %homepath%\Desktop\Pwnage\iPhone3,1_4.2.1_8C148_Restore.ipsw
Input the following command for devices with the old bootrom (iPod 2G, iPhone 3GS):
%homepath%\Desktop\Pwnage\redsn0w_win_0.9.6rc7\redsn0w.exe -j -o -i %homepath%\Desktop\Pwnage\iPhone2,1_4.2.1_8C148a_Restore.ipsw
**Important: remember to change the filename to the filename of the ipsw you downloaded in Step One.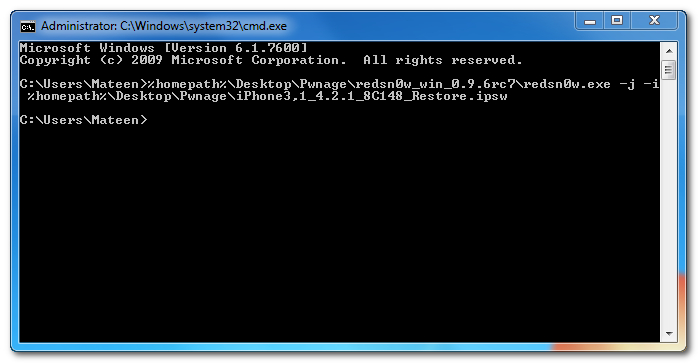
Step Five
RedSn0w will now open, instruct you on placing your iPhone into DFU mode if it isn’t already, and boot your device.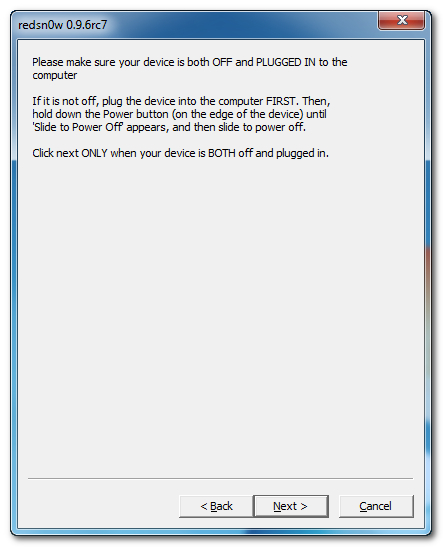
How to Quickly Boot Your Tethered Jailbroken iPhone (Mac)
Jan 3rd


These are instructions on how to quickly boot your tethered jailbroken iPhone using RedSn0w for Mac
Step One
Create a Pwnage folder on your Desktop and in it place:
? RedSn0w 0.9.6rc7
? Your iPhone firmware ipsw (download here)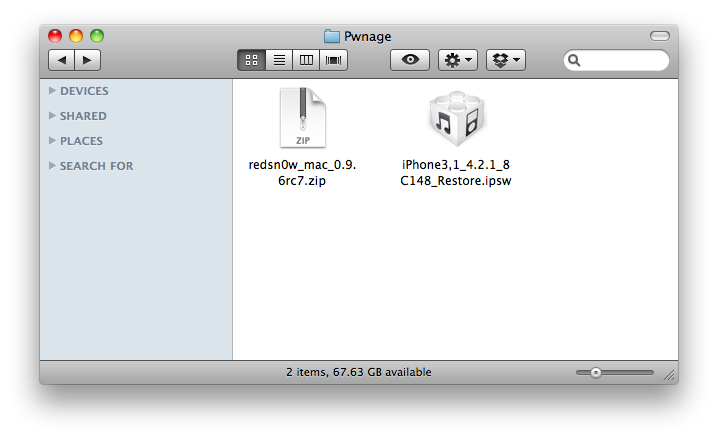
Step Two
Double click the RedSn0w archive to extract it.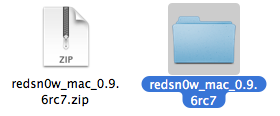
Step Three
Launch Terminal from Applications:Utilities folder.
Step Four
Input the following command for devices with the new bootrom:
open ~/Desktop/Pwnage/redsn0w_mac_0.9.6rc7/redsn0w.app –args -j -i ~/Desktop/Pwnage/iPhone3,1_4.2.1_8C148_Restore.ipsw
Input the following command for devices with the old bootrom (iPod 2G, iPhone 3GS):
open ~/Desktop/Pwnage/redsn0w_mac_0.9.6rc7/redsn0w.app –args -j -o -i ~/Desktop/Pwnage/iPhone2,1_4.2.1_8C148a_Restore.ipsw
**Important: remember to change the filename to the filename of the ipsw you downloaded in Step One.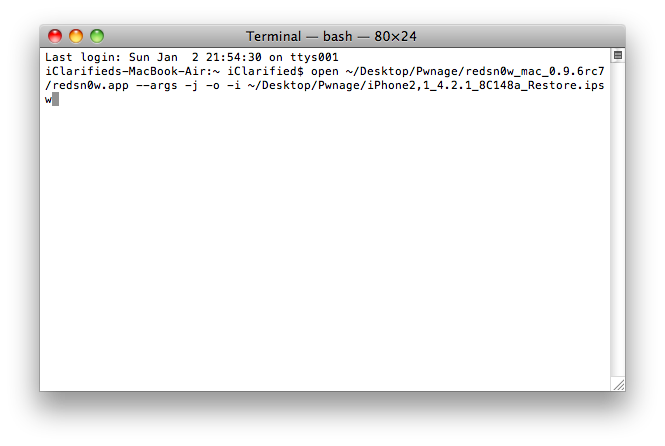
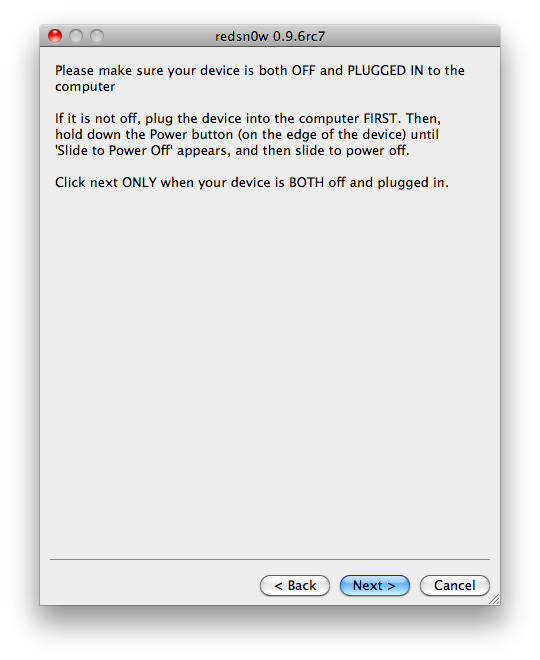
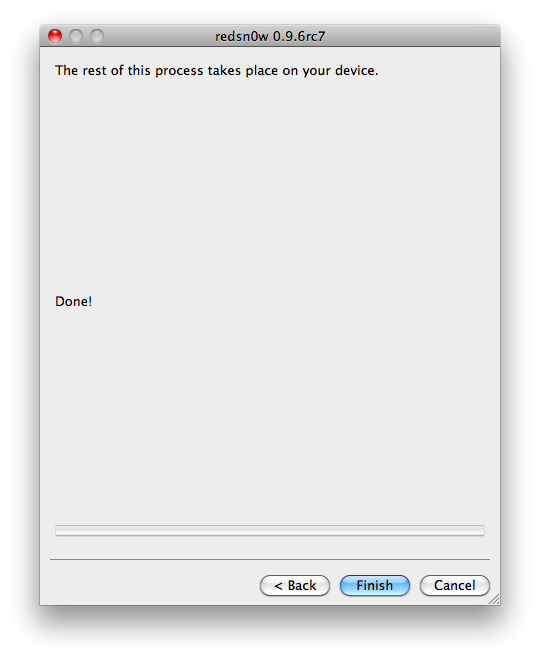
Step Five
RedSn0w will now open, instruct you on placing your iPhone into DFU mode if it isn’t already, and boot your device.


Recent Comments