Mastery of the iPod Starts Here
How to Wirelessly Sync Your iPhone With iTunes

These are instructions on how to wirelessly sync your iPhone with iTunes using Wi-Fi Sync.
Step One
To follow these instructions you must jailbreak your iPhone. Step Two
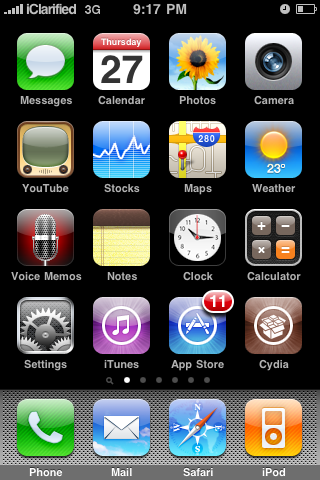
Press to launch Cydia from your SpringBoard.
 Step Three
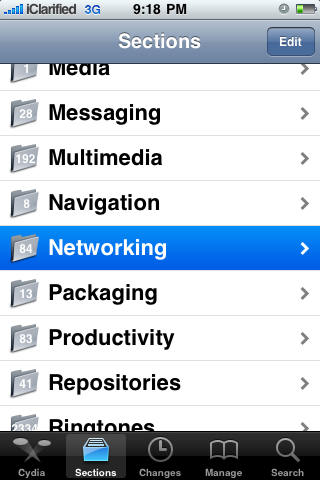
Press to select the Sections tab from the bottom of the screen.
 Step Four
Press to choose the Networking section
 Step Five
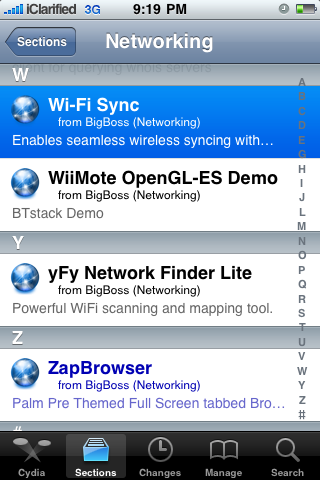
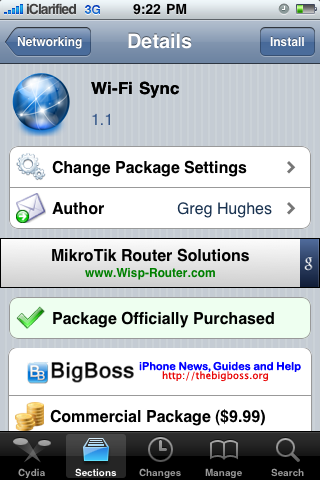
Press to select Wi-Fi Sync from the list of packages.
 Step Six
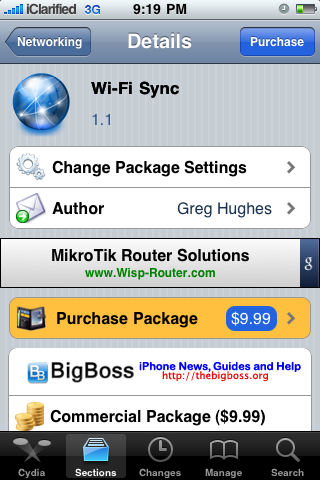
Press the Purchase button at the top right of the screen. For detailed instructions on purchasing an app from the Cydia Store see this tutorial.
 Step Seven
Once you have purchased the application press the Install button at the top right of the screen.
 Step Eight
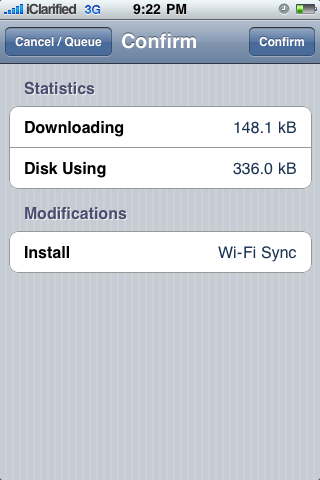
Press the Confirm button to begin installation.
 Step Nine
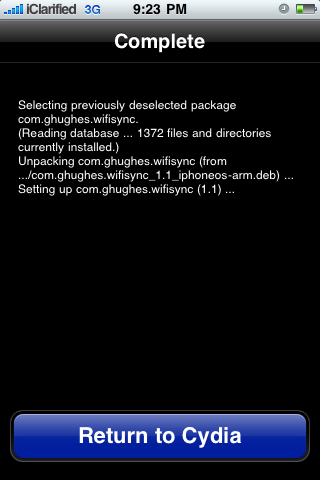 Step Ten
Open Safari from your dock and navigate to http://www.getwifisync.com.

 Step Eleven
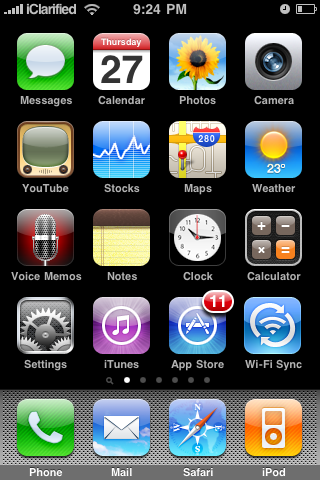
Make sure your iPhone and computer are on the same wireless network then launch Wi-Fi Sync from your SpringBoard.
 Step Twelve
As soon as the application is launched it will try to find a computer to connect to.

To follow these instructions you must jailbreak your iPhone. Step Two
Press to launch Cydia from your SpringBoard.
Step ThreePress to select the Sections tab from the bottom of the screen.
Step FourPress to choose the Networking section
Step FivePress to select Wi-Fi Sync from the list of packages.
Step SixPress the Purchase button at the top right of the screen. For detailed instructions on purchasing an app from the Cydia Store see this tutorial.
Step SevenOnce you have purchased the application press the Install button at the top right of the screen.
Step EightPress the Confirm button to begin installation.
Step Nine
Step TenOpen Safari from your dock and navigate to http://www.getwifisync.com.
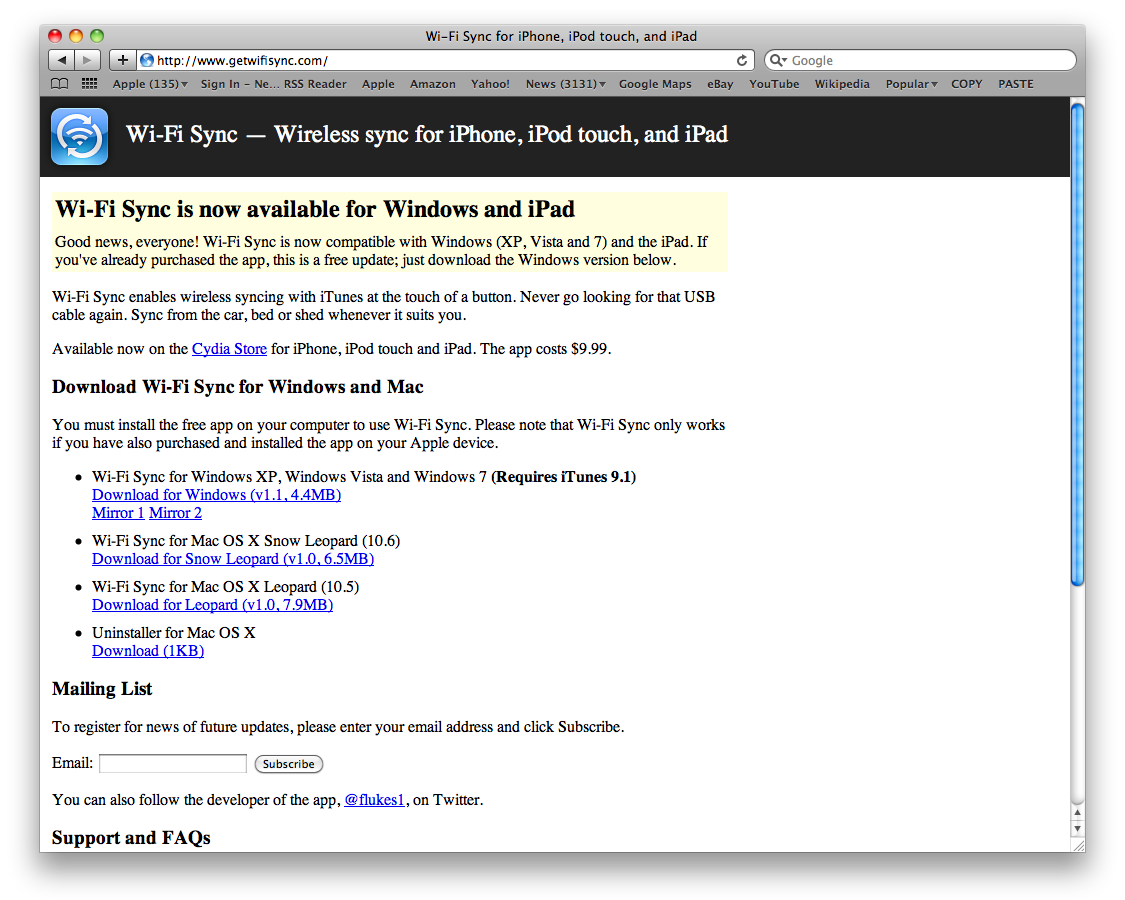
Download the helper application for your operating system and install it.
 Step Eleven
Make sure your iPhone and computer are on the same wireless network then launch Wi-Fi Sync from your SpringBoard.
Step TwelveAs soon as the application is launched it will try to find a computer to connect to.
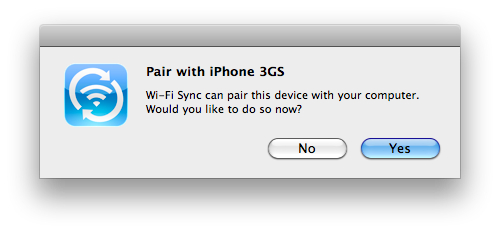
When the computer recognizes a device it will ask you if you want to pair with it. Click
Yes
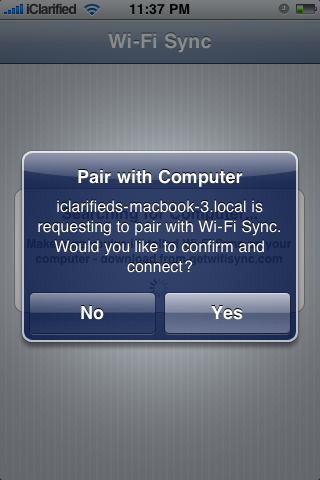
Then press
Yes on the “Pair with Computer” alert that appears on your iPhone.
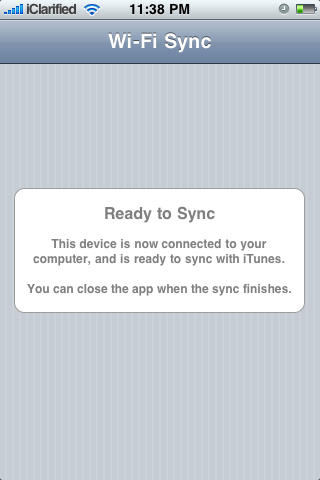
The iPhone will then tell you that you are ready to sync.
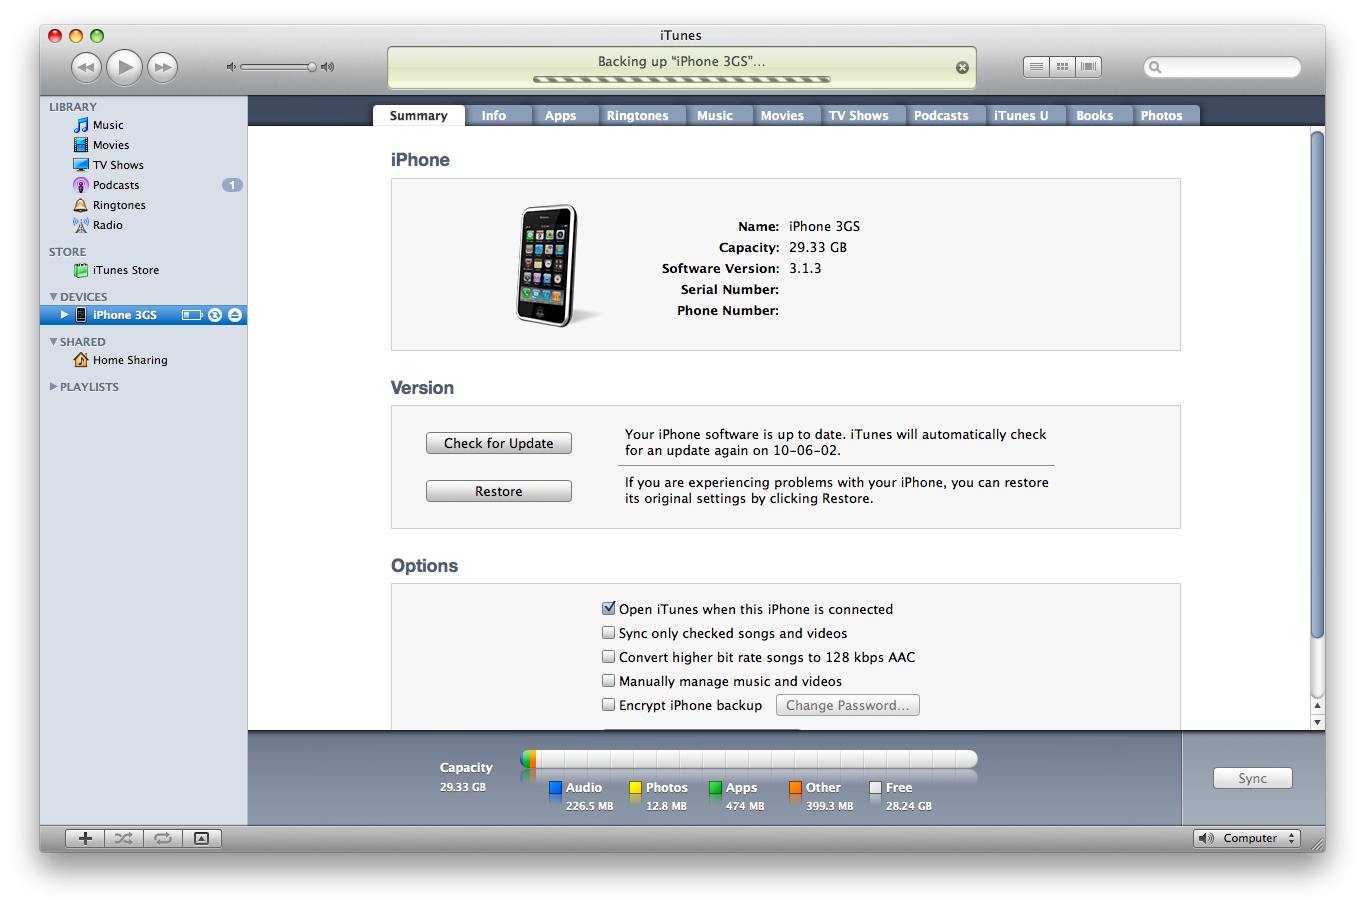
Your iPhone will now appear in iTunes and begin synchronization as though it was connected directly to the computer!
Related posts:
- App Wirelessly Syncs Your iPhone With iTunes [Will Apple Approve?]
- Wi-Fi Sync 2.0 Will Sync Your iPhone/iPad With iTunes Over 3G
- Wireless iPhone Sync With iTunes is Now Possible
- How to Setup Google Sync for iPhone Calendars, Contacts, and Push Gmail
Related posts brought to you by Yet Another Related Posts Plugin.