Downgrade ‘iPhone 3GS: From 3.1 to 3.0 Firmware -

As you know yesterday was awarded the first method to perform the Jailbreak dell’iPhone 3GS but the program (purplera1n) may be used only on devices with Firmware 3.0. Since my iPhone 3GS had been updated to version 3.1 beta, I decided to create this guide may be useful to all users who intend to return to the previous software version (which you can run the Jailbreak).
Requirements:
* ITunes 8.2 installed on your computer
* Firmware 3.0 Original all’iPhone 3GS (you can download it here)
Guide:
1. Connect your iPhone to your computer via the USB cable. Switch off the device and put it in DFU. To do this: Click the Home + Power On button for 10 seconds exactly, then release the power button and continue to click on Home. iTunes will display a pop-up kind of (sorry but my iTunes is in English):
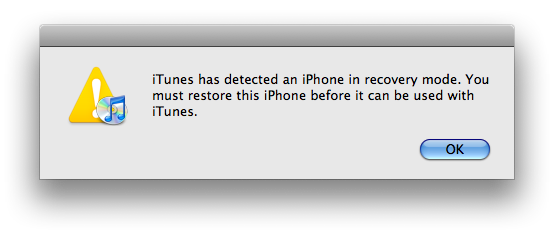
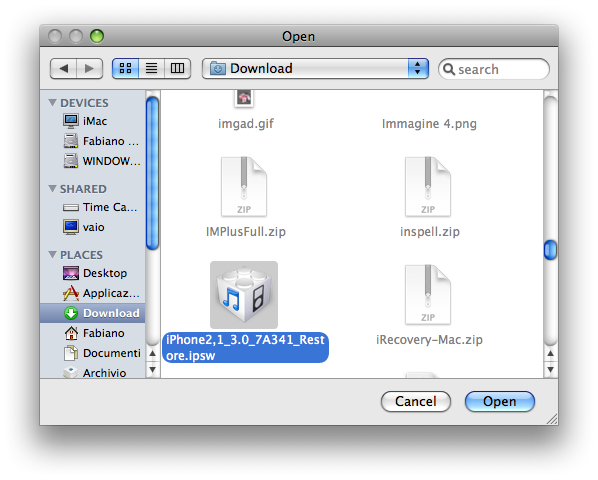
2nd Click on OK and then click the button on the keyboard ALT + click “Restore” in iTunes and select the original 3.0 firmware previously saved in your computer.
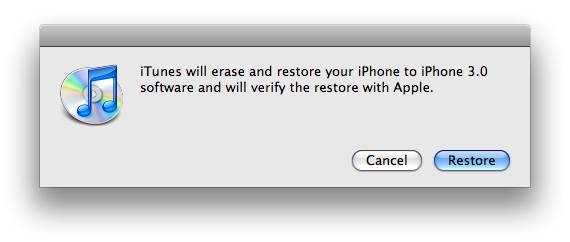
3rd A new pop-up that asks you a confirmation before performing the restore. In this case, you must confirm by clicking “Restore”:
4th Start a quick procedure that will extract the software, verify the information on the Apple site and prepare the riprisitno. After a few minutes finally begin to restore itself and towards the end of the process will get an error from iTunes. (Do not worry, everything is normal).

5th In fact, the 3.0 firmware has been properly loaded on your device, but the error 1015 will appear on the screen icon in iTunes with the USB cable, which affects the use of the phone. Then we see how out of this situation using iRecovery that you can download it here (for Mac).
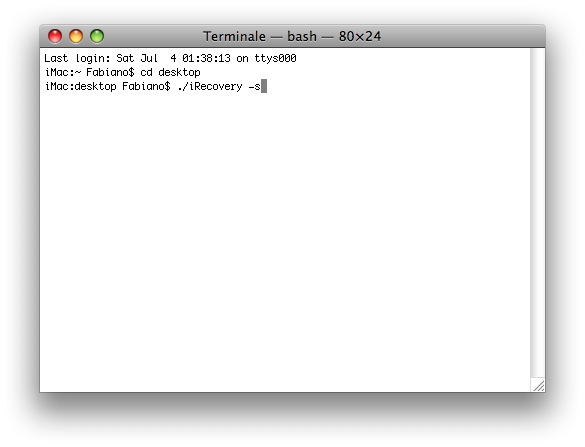
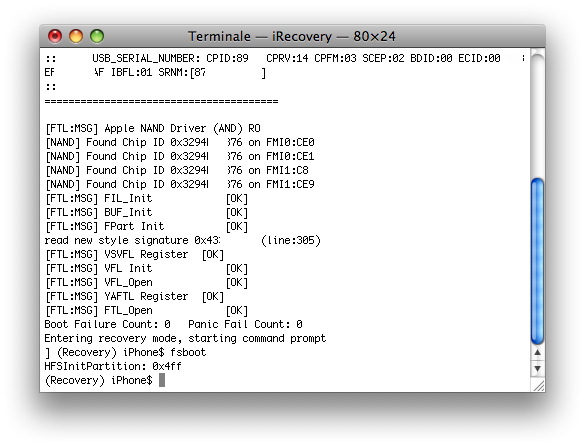
6. Extract the contents of the file “iRecovery-Mac.zip” on the desktop of your Mac and then open the application “Terminal” which is in Applications> Utilities. Enter these strings:
cd desktop
. / iRecovery-s
You will see that many written like this:

7th At this point you’ll have to type a last string and your iPhone will rise again in “Normal Mode”. Here:
fsboot
8th Once the iPhone has been restarted, you see the “Emergency calls only” and you’ll have to wait for the uploading of iTunes that automatically activates the phone.
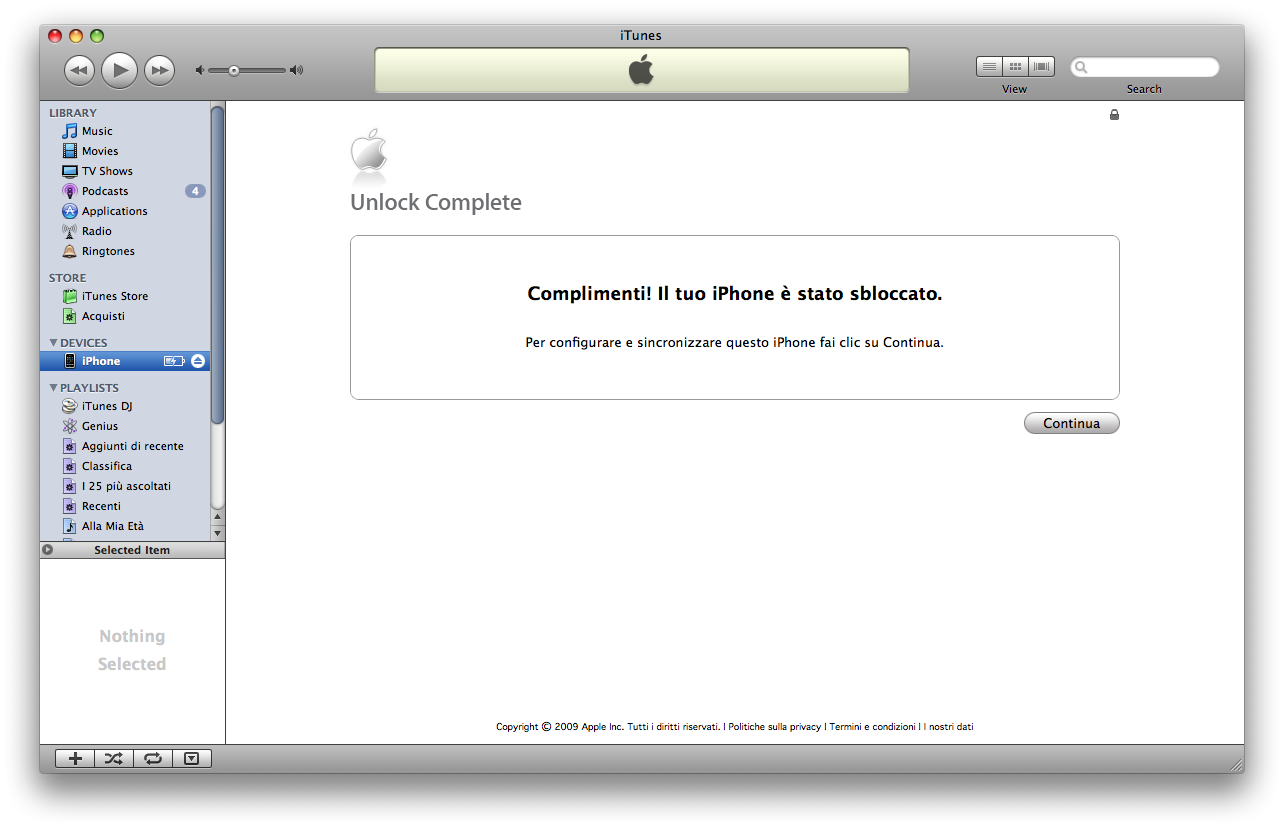
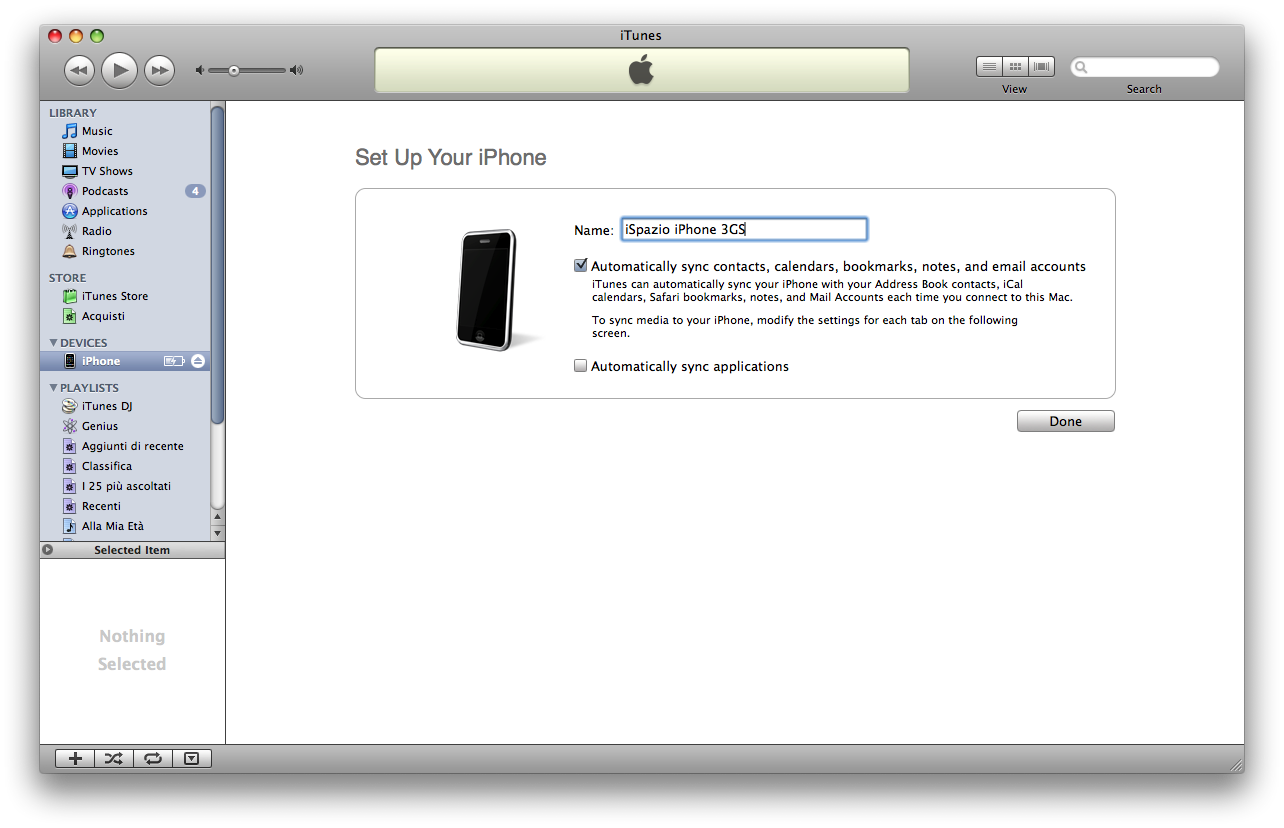
9th You can restore a backup or configure the phone as “new.” And here you are again with the 3GS iPhone Firmware 3.0. E ‘can now run the Jailbreak your device and in this regard, I refer to our detailed guide (but it must be run on Windows)
Related posts:
- How to Jailbreak Your iPhone 3GS on OS 3.0 Using RedSn0w (Mac)
- How to Jailbreak Your iPhone on OS 3.0 Using RedSn0w (Windows)
- How to Jailbreak Your iPhone 3GS on OS 3.0 Using RedSn0w (Windows)
- How to Jailbreak Firmware 3.0
- 3.0 Full Firmware Downloads
Related posts brought to you by Yet Another Related Posts Plugin.
Tags: 3g, app, apple, Application, firmware, iPhone, iPod, iTunes, jailbreak, mod, touch
I did this and it worked.. but unfortunately, if I wanted to reboot the phone, it would go back to “please connect to Itunes” and I would have to use iRecovery to reboot every time. so I reloaded 3.1 and the problem went away..
iRecovery had a error and said it failed to boot previously.
you need to do this instead of fsboot in irecovery
setenv auto-boot true
saveenv
fsboot
that way when you reboot it will not go into recovery mode every time