These are instructions on how to unlock the iPhone 3G and 3GS using BlackSn0w. To follow these instructions you must be on the 05.11.07 baseband and have already jailbroken.
If you have not already jailbroken it will be easier to follow one of these tutorials which will walk you through both jailbreaking and unlocking.
Lets begin…

Watch the Video!
For your convenience this tutorial is available in video format also. Click the Watch It button to view the tutorial!
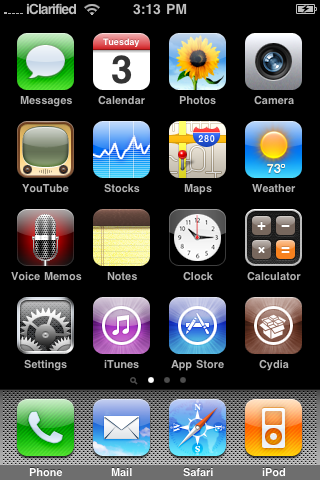
Step One
Press to launch Cydia from your iPhone Springboard.
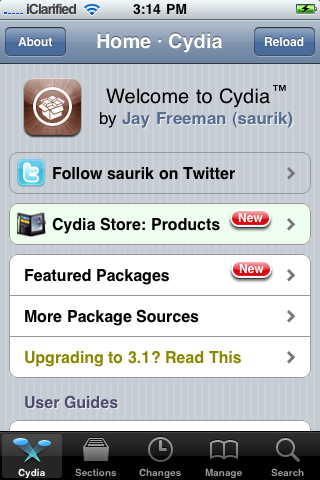
Step Two
Press to select Manage from the tabs at the bottom of the screen.
Step Three
Press the large Sources button.
Step Four
Press the Edit button at the top right of the screen.
Step Five
Press the Add button at the top left of the screen.
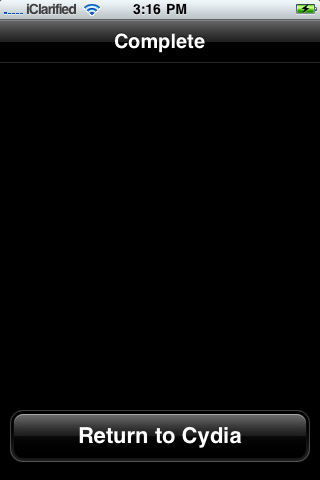
Step Six
Input http://www.blackra1n.com as the source address then press the Add Source button. Once Cydia has added the source press the large Return to Cydia button.
Step Seven
Press the Done button at the top right of the screen.
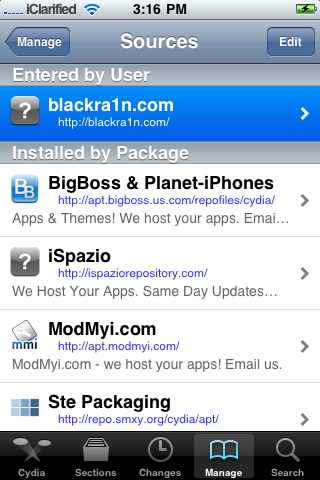
Step Eight
Press to select blackra1n.com from the list of sources.
Step Nine
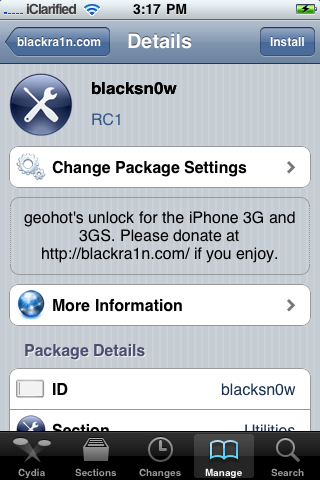
Press to select blacksn0w from the list of packages.
Step Ten
Press the Install button at the top right of the screen.
Step Eleven
Press the Confirm button at the top right to begin installation.
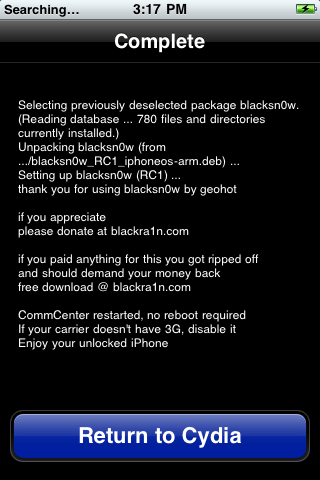
Step Twelve
Once the unlock has been installed successfully press the large Return to Cydia button.
Step Thirteen
Wait a few minutes for your CommCenter to restart and you will now be able to use the SIM card of your choice on your unlocked iPhone!
***THANKS: Congratulations and thanks to Geohot for making this unlock possible. You can donate towards his efforts at www.blackra1n.com.
Tags:
3GS,
BlackSn0w,
iPhone 3G,
Unlock